 Albania
 Argentina
 Australia
 Austria
 Belgium
 Bosnia and Herzegovina
 Brazil
 Bulgaria
 Canada
 Chile
Chile
 Colombia
 Croatia
 Czech Republic
 Denmark
 Estonia
 Finland
 France
 Germany
 Greece
 Hungary
 Ireland
 Italy
Italy
 Latvia
 Lithuania
 Luxembourg
 Mexico
 Moldova
 Montenegro
 Netherlands
 New Zealand
 North Macedonia
 Norway
 Philippines
 Poland
 Portugal
 Romania
 Serbia
 Slovakia
 Slovenia
 South Africa
 Spain
Spain
 Sweden
 Switzerland
 Turkey
 Ukraine
 United Kingdom
 United States of America



How to change drumheads
Changing a head is not a workshop job but routine maintenance you can do at home with a single key. We go through the whole process, from taking the drum apart and cleaning the bearing edge to tuning in a cross pattern.
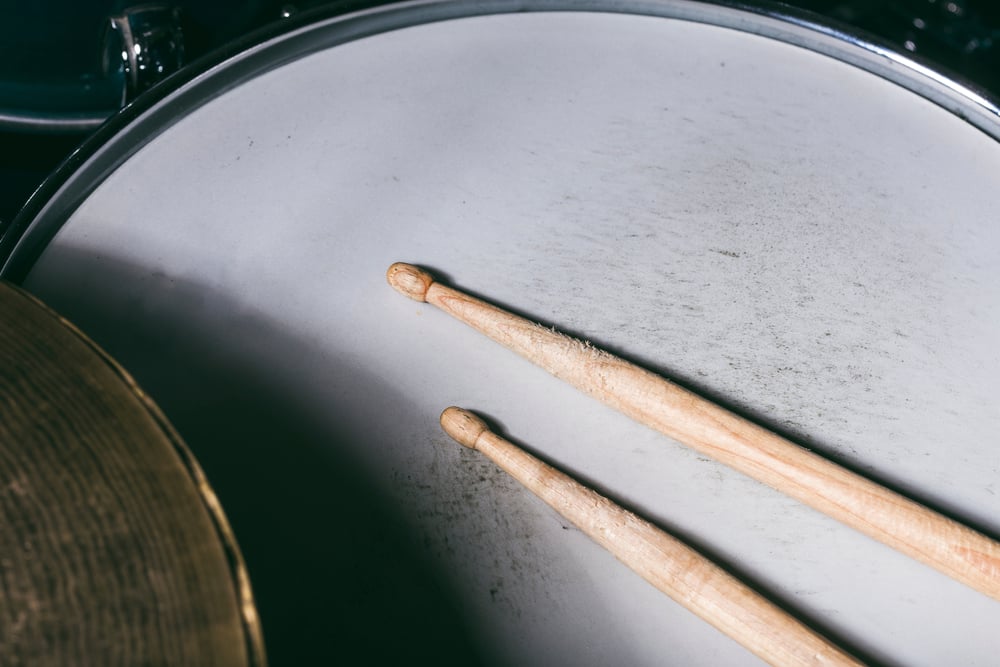
Changing drumheads is to a kit what changing strings is to a guitar. You do it regularly, you can manage it at home on a table and you hear the difference straight away. Most drummers still put it off for months, because they are convinced the drum will never tune up again afterwards.
It will, and the whole job takes eight steps. We go through when it is time to change, what to get ready, how to take the head off, clean the shell, fit the new one, tighten the rods properly and tune, and how the snare and the kick differ from the toms.
It will, and the whole job takes eight steps. We go through when it is time to change, what to get ready, how to take the head off, clean the shell, fit the new one, tighten the rods properly and tune, and how the snare and the kick differ from the toms.
When it is time for new heads
The head will tell you itself, you just need to know what to look for. The most reliable sign is that the drum stops holding its tuning, meaning you tune it and two days later it has moved. The second is a visible dent where the stick lands, or stretched film around the centre. The third is a sound that loses its pitch and goes dull no matter how you tune.
How often varies a lot. Someone gigging every week changes batter heads as often as once a month, someone practising at home twice a week gets a year out of them. Resonant heads, the bottom ones, last several times longer, but not forever.
If you do not know which type to buy, take it like this. Two-ply heads are darker, shorter and more durable, so they are the safe choice for rock and for a beginner, while single-ply heads are more sensitive and open and suit jazz. You choose in tom and floor tom heads, in snare drum heads and in bass drum heads, or straight away in head packs, where three tom heads come together and work out cheaper than buying singly.
How often varies a lot. Someone gigging every week changes batter heads as often as once a month, someone practising at home twice a week gets a year out of them. Resonant heads, the bottom ones, last several times longer, but not forever.
If you do not know which type to buy, take it like this. Two-ply heads are darker, shorter and more durable, so they are the safe choice for rock and for a beginner, while single-ply heads are more sensitive and open and suit jazz. You choose in tom and floor tom heads, in snare drum heads and in bass drum heads, or straight away in head packs, where three tom heads come together and work out cheaper than buying singly.
What to get ready
The list is short. You need new heads in the right diameter, a drum key and a cloth. That is everything the job actually requires.
Two more things are worth having. Something from drum cleaning and care for the shell and the hoop, which you will have uncovered for the first time in ages, and a flat mat or rug so the drum does not slide around.
Check the diameter before you order. It is measured in inches across the shell without the hoop and there are no in-between sizes, so a fourteen inch snare drum needs exactly a fourteen inch head. Check as well whether you are buying a batter or a resonant head, because both exist in the same size and they are not interchangeable.
Two more things are worth having. Something from drum cleaning and care for the shell and the hoop, which you will have uncovered for the first time in ages, and a flat mat or rug so the drum does not slide around.
Check the diameter before you order. It is measured in inches across the shell without the hoop and there are no in-between sizes, so a fourteen inch snare drum needs exactly a fourteen inch head. Check as well whether you are buying a batter or a resonant head, because both exist in the same size and they are not interchangeable.
Step 1: Take the drum apart
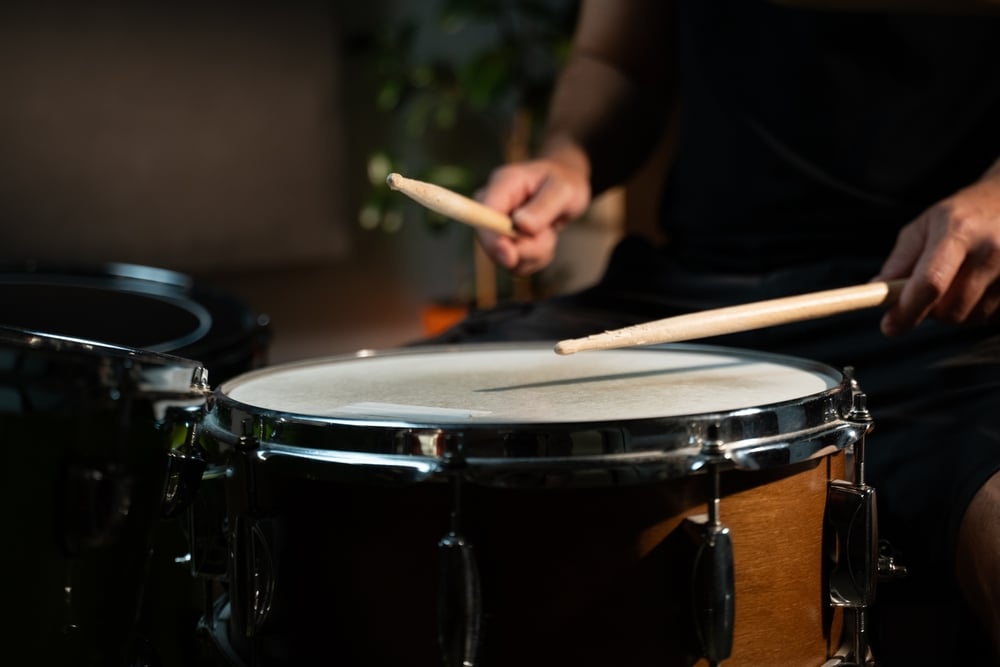
Loosen the rods gradually with the drum key, alternating opposite sides, the same way you would undo the bolts on a car wheel. Do not undo one completely and only then move to the next, because the hoop twists as you go and on thinner hoops that can become permanent.
Once the rods are loose, take them out along with their washers and put them all in one place, ideally in a bowl, because they roll under furniture beautifully. Then lift off the hoop and the old head. If you find a rod with a stripped thread or a missing washer, both can be bought separately in replacement tension rods and nuts and in drum washers.
Do not throw the old head away yet. Held against the new one it confirms the diameter, and you can also see from it which way up it sat.
Once the rods are loose, take them out along with their washers and put them all in one place, ideally in a bowl, because they roll under furniture beautifully. Then lift off the hoop and the old head. If you find a rod with a stripped thread or a missing washer, both can be bought separately in replacement tension rods and nuts and in drum washers.
Do not throw the old head away yet. Held against the new one it confirms the diameter, and you can also see from it which way up it sat.
Step 2: Clean the bearing edge
This is the step most people skip and then wonder why the drum will not hold its tuning. The bearing edge is the narrow surface on the rim of the shell that the head rests on, and it decides how accurately the drum tunes. If there is dust, flakes of old lacquer or moisture on it, the head will not seat evenly.
Run a dry cloth around the edge and look at it against the light for dents or nicks. Small irregularities are normal and will not matter, bigger damage is a job for a workshop.
Wipe the inside of the hoop and the rod threads as well. If the rods turn stiffly, a drop of lubricant on the thread helps, but never put anything on the head itself or on the bearing edge. To polish the shell use a product from drum cleaning and care, not whatever is under the kitchen sink. If the hoop is bent or cracked, you will find a replacement in drum hoops.
Run a dry cloth around the edge and look at it against the light for dents or nicks. Small irregularities are normal and will not matter, bigger damage is a job for a workshop.
Wipe the inside of the hoop and the rod threads as well. If the rods turn stiffly, a drop of lubricant on the thread helps, but never put anything on the head itself or on the bearing edge. To polish the shell use a product from drum cleaning and care, not whatever is under the kitchen sink. If the hoop is bent or cracked, you will find a replacement in drum hoops.
Step 3: Fit the new head
Lay the head on the shell and centre it so its hoop sits evenly all the way round. Move it side to side for a moment and let it settle, you will both see and feel it drop into place.
Then put the drum hoop on and start the rods by hand, without the key. All of them. Only once every rod is finger tight and the hoop sits parallel to the shell should you reach for the drum key.
If a rod will not start by hand at this stage, something is off. Before you add force, check that the head is not sitting askew and that the thread is not damaged.
Then put the drum hoop on and start the rods by hand, without the key. All of them. Only once every rod is finger tight and the hoop sits parallel to the shell should you reach for the drum key.
If a rod will not start by hand at this stage, something is off. Before you add force, check that the head is not sitting askew and that the thread is not damaged.
Step 4: Tighten in a cross, not in a circle
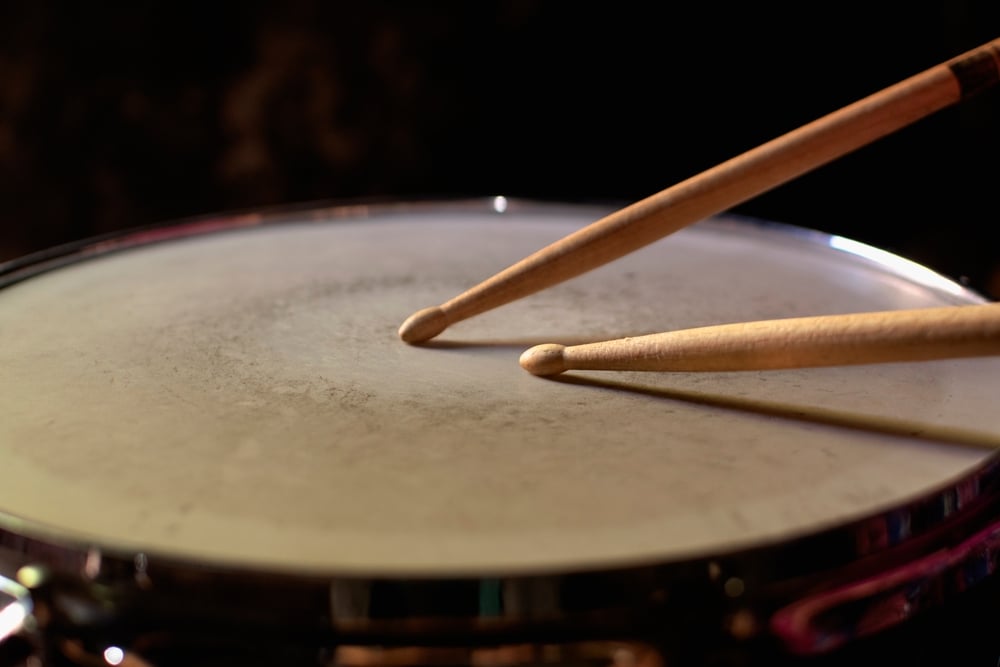
This is the single most important thing in the whole job. Tighten the rods in a cross, always moving to the opposite side, exactly as you would on a car wheel. If you went round in a circle, the head would tension from one side, the hoop would tilt and you would never get the drum even.
Do it in small steps, ideally half a turn at a time, and go round the full circle several times. The goal at this point is not to reach a pitch but to get even tension all the way round.
Once the head is tensioned enough that the wrinkles are gone and it starts to ring, stop tightening and move on.
Do it in small steps, ideally half a turn at a time, and go round the full circle several times. The goal at this point is not to reach a pitch but to get even tension all the way round.
Once the head is tensioned enough that the wrinkles are gone and it starts to ring, stop tightening and move on.
Step 5: Seat the head
A new head comes straight from the factory and the film has not yet seated in its hoop. Put your palm in the middle and press down firmly but smoothly. There will be a cracking noise that sounds alarming but is completely fine, because the glue is settling and the film is finding its position.
After you press, the head relaxes and the tension drops, which is normal. Go round the rods in a cross again and tighten. Repeat the whole thing two or three times, until the tension stops changing after a press.
Skip this step and the drum will keep dropping for the whole first week and you will be tuning it after every session.
After you press, the head relaxes and the tension drops, which is normal. Go round the rods in a cross again and tighten. Repeat the whole thing two or three times, until the tension stops changing after a press.
Skip this step and the drum will keep dropping for the whole first week and you will be tuning it after every session.
Step 6: Tune the head
Tuning happens at the individual rods, not in the middle of the drum. Tap with a stick or a finger about two or three centimetres in from the edge next to each rod and listen to the pitch. The goal is for every rod to give the same note.
Where the note is lower, tighten slightly, where it is higher, ease off a touch. Work in small steps and keep returning to the cross pattern, because every change affects the neighbouring points too.
Once the drum is even, set the overall pitch and check the evenness again. Across a full kit it pays to tune the rack toms and the floor toms so there are audible intervals between them. If tuning is a struggle, there are drum tuners that measure the tension and show the deviation as a number.
Where the note is lower, tighten slightly, where it is higher, ease off a touch. Work in small steps and keep returning to the cross pattern, because every change affects the neighbouring points too.
Once the drum is even, set the overall pitch and check the evenness again. Across a full kit it pays to tune the rack toms and the floor toms so there are audible intervals between them. If tuning is a struggle, there are drum tuners that measure the tension and show the deviation as a number.
Step 7: Do not forget the bottom head
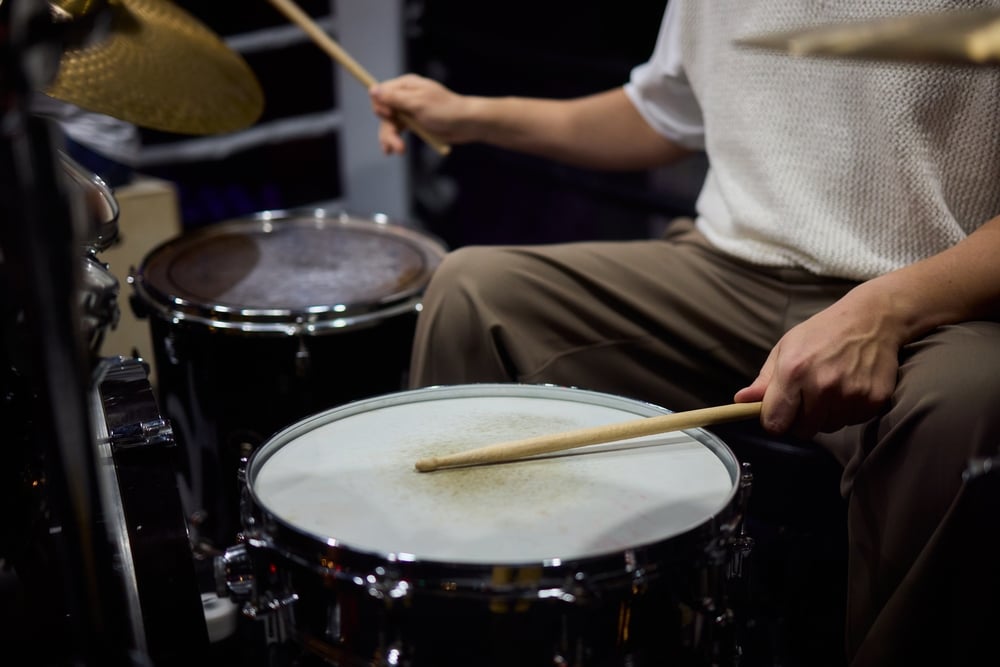
The resonant head decides how long the drum rings on, and most people ignore it for years. If you are changing it too, the procedure is the same, just handle it more carefully because it tends to be thinner.
The ratio of tension between the two heads sets the character. With the bottom head tuned the same as the top, the drum has the longest and cleanest sustain. Tune it higher and the note rises after the hit, tune it lower and it falls, which is the effect you know from rock records.
Try both and keep whichever suits you. It is the cheapest way to change a drum's character, because it costs nothing but a few minutes. The choice of bottom heads is in resonant heads.
The ratio of tension between the two heads sets the character. With the bottom head tuned the same as the top, the drum has the longest and cleanest sustain. Tune it higher and the note rises after the hit, tune it lower and it falls, which is the effect you know from rock records.
Try both and keep whichever suits you. It is the cheapest way to change a drum's character, because it costs nothing but a few minutes. The choice of bottom heads is in resonant heads.
The snare and the kick
The snare drum comes with two exceptions. Its bottom head is extremely thin, thinner than anything else on the kit, because the wires have to rattle against it, so handle it gently and never over-tension it. And when you take the drum apart, fully release the snare wires and unhook them first, otherwise you will bend them while you work. If they are already deformed, you will find new ones in snare wires.
The kick is the opposite: tuned lowest and almost always damped. Inside there is usually a pillow or a felt strip touching the head, and the front head may have a port for a microphone. Keep the tension low here, just enough that the head has no wrinkles, because the deep, short thump comes precisely from low tension.
If your kick wears through quickly where the beater lands, stick an impact patch on it, which protects the head exactly where it needs it and costs a fraction of a new one. A worn beater head can be replaced from beaters.
The kick is the opposite: tuned lowest and almost always damped. Inside there is usually a pillow or a felt strip touching the head, and the front head may have a port for a microphone. Keep the tension low here, just enough that the head has no wrinkles, because the deep, short thump comes precisely from low tension.
If your kick wears through quickly where the beater lands, stick an impact patch on it, which protects the head exactly where it needs it and costs a fraction of a new one. A worn beater head can be replaced from beaters.
What can go wrong
There are only a few mistakes and they all repeat. The most common is tightening in a circle instead of a cross, after which the hoop tilts and the drum cannot be evened out. The second is skipping the seating of the head, after which the tuning drops for a week and you go looking for the fault elsewhere.
Next comes skipping the cleaning of the bearing edge, where a little dirt is enough to stop the head seating evenly. And the last is too much force, whether tightening the rods or seating the head, because the film really can be over-stretched and the hoop bent.
Do not use a power screwdriver on the rods. It is quick, but you lose all feel and will strip a thread before you notice.
Next comes skipping the cleaning of the bearing edge, where a little dirt is enough to stop the head seating evenly. And the last is too much force, whether tightening the rods or seating the head, because the film really can be over-stretched and the hoop bent.
Do not use a power screwdriver on the rods. It is quick, but you lose all feel and will strip a thread before you notice.
The short version
The whole job rests on four things. Loosen and tighten in a cross, clean the bearing edge, seat the head with your palm once it is tensioned, and tune at the individual rods rather than in the middle.
Your first change will take an hour for one drum and you will be unsure throughout, the second twenty minutes, and by the third you will do it in front of the TV. The same principle applies on a guitar, where the process is covered in how to change guitar strings. Heads are in the full drumhead range, keys in drum keys, the rest of the gear in drum hardware, and while you are in maintenance mode, have a look at your cymbals and hi-hats, which deserve a clean too.
Your first change will take an hour for one drum and you will be unsure throughout, the second twenty minutes, and by the third you will do it in front of the TV. The same principle applies on a guitar, where the process is covered in how to change guitar strings. Heads are in the full drumhead range, keys in drum keys, the rest of the gear in drum hardware, and while you are in maintenance mode, have a look at your cymbals and hi-hats, which deserve a clean too.
Frequently asked questions
Do I have to change every head on the kit at once?
You do not have to. Most drummers change the batter heads on the toms together, because they wear at roughly the same rate and the kit then sounds consistent. But if only one is finished, change just that one. When you are doing the lot, head packs work out cheaper than buying piece by piece.
Why does my drum keep dropping in pitch after a change?
Because you skipped the seating step. A new head has slack in the film that has to be pulled out, and until it is, the tension will drop every time you play. Tension the head, press into the centre with your palm, retune and repeat two or three times. Seated like that, the tuning holds for weeks.
How tight should the tension rods be?
Do not measure force here. Your fingers tell you more than any number, because you recognise correct tension by the head giving the same note at every rod with no wrinkles anywhere. Turn half a turn at a time, then quarter turns as you close in. If you want certainty, a drum key with a tension indicator shows the deviation directly.
Do I need to change the bottom head too?
Not every time. The resonant head usually survives two or three changes of the batter, because you are not hitting it. Change it when it is dented, cracked around the edge, or when the drum stopped ringing even after you tuned the top head.
How long does a head change take?
The first drum will take you an hour, because you will double-check everything. After a few repeats you will be down to twenty minutes per drum including tuning. So plan a whole kit for one quiet afternoon rather than the hour before rehearsal.
Can I change a head without a drum key?
No. Tension rods have a square head that neither a spanner nor a screwdriver fits, so without a key you cannot even loosen the head. In fact it is worth owning two, one in the stick bag and one at home, because drum keys are among the fastest things to disappear. With a key and a new head from the drumhead range, you need nothing else.