 Albania
 Argentina
 Australia
 Austria
 Belgium
 Bosnia and Herzegovina
 Brazil
 Bulgaria
 Canada
 Chile
Chile
 Colombia
 Croatia
 Czech Republic
 Denmark
 Estonia
 Finland
 France
 Germany
 Greece
 Hungary
 Ireland
 Italy
Italy
 Latvia
 Lithuania
 Luxembourg
 Mexico
 Moldova
 Montenegro
 Netherlands
 New Zealand
 North Macedonia
 Norway
 Philippines
 Poland
 Portugal
 Romania
 Serbia
 Slovakia
 Slovenia
 South Africa
 Spain
Spain
 Sweden
 Switzerland
 Turkey
 Ukraine
 United Kingdom
 United States of America



How to change guitar strings
Restringing is the one bit of maintenance you will keep doing for as long as you play. We walk through the whole thing from slackening the first string to the final tune-up, separately for acoustic, electric and classical guitars.
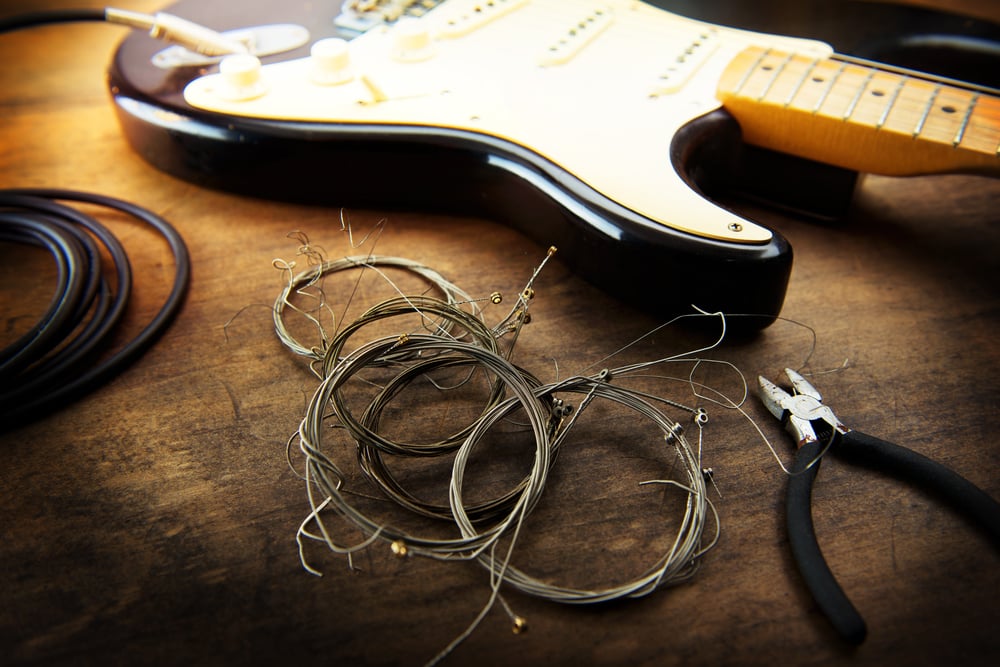
There are two ways to get new strings on. Either you bring the guitar to one of our showrooms and we do it while you wait, instrument check included, or you do it yourself at home following this guide. We would suggest the second one, because this is the only maintenance you will keep doing for as long as you play, and after a few goes it takes twenty minutes at the kitchen table.
You need no workshop and no experience, just three cheap tools and a little patience on the first attempt. We will walk through the whole thing from slackening the first string to the final tune-up two days later, and since acoustic, electric and classical guitars differ exactly in how the string is anchored at the bridge, each of them gets its own section while the rest of the steps are the same for all three.
You need no workshop and no experience, just three cheap tools and a little patience on the first attempt. We will walk through the whole thing from slackening the first string to the final tune-up two days later, and since acoustic, electric and classical guitars differ exactly in how the string is anchored at the bridge, each of them gets its own section while the rest of the steps are the same for all three.
When it is time for new strings
Most people notice their strings are done long after they should have, because strings do not die overnight, they fade slowly and quietly. First the brightness goes and a chord that rang nicely a month ago suddenly sounds flat. Then tuning starts to slip, the guitar drops after a couple of songs and the strings drift apart from each other even though the tuning machines are perfectly fine. And when you run a finger along the underside of a string above the frets, you feel notches that were not there before.
A plain look helps too. Rust, dark patches and a greenish film on the wound strings mean that sweat and moisture have got inside the winding, and a string like that also wears your frets far faster than a fresh one. Saving on strings does not pay off, because the five euros you keep now come back later as a much bigger bill for a fret dress.
Take the numbers in the table as an example rather than a rule, because one person kills a set in two weeks while another gets half a year out of the same guitar. What decides it is how acidic your sweat is, how many hours you put in and whether you wipe the strings down after playing.
A plain look helps too. Rust, dark patches and a greenish film on the wound strings mean that sweat and moisture have got inside the winding, and a string like that also wears your frets far faster than a fresh one. Saving on strings does not pay off, because the five euros you keep now come back later as a much bigger bill for a fret dress.
| How often you play | When to change |
|---|---|
| an hour or more daily | every 3 to 4 weeks |
| a few times a week | every 2 to 3 months |
| a few songs now and then | twice a year |
| you play gigs | before every bigger show |
Take the numbers in the table as an example rather than a rule, because one person kills a set in two weeks while another gets half a year out of the same guitar. What decides it is how acidic your sweat is, how many hours you put in and whether you wipe the strings down after playing.
First pick the right set
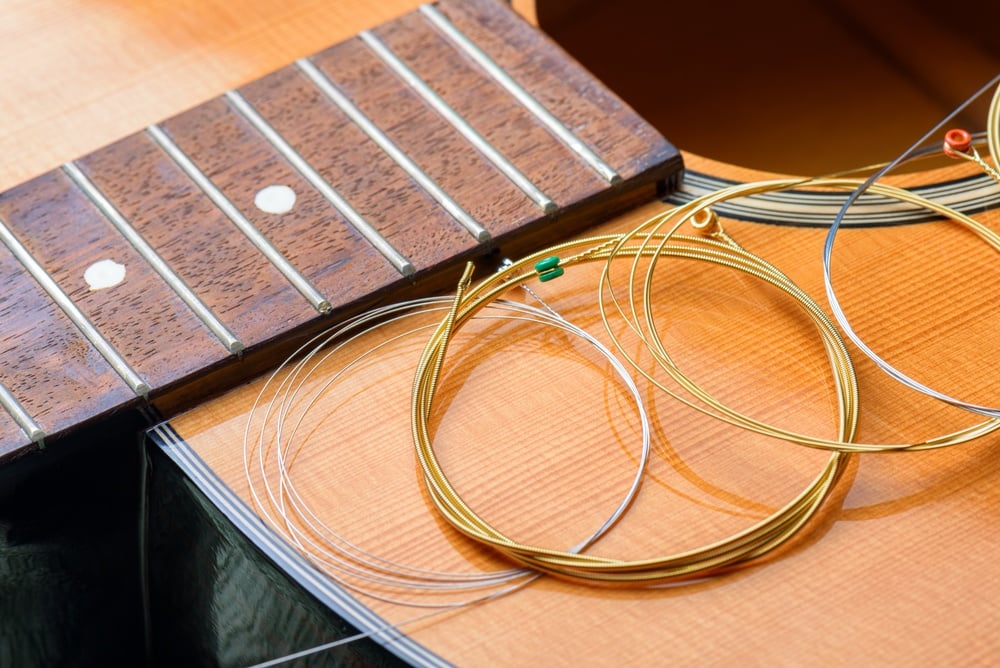
Before you start the swap itself, a new set should already be lying on the table, because a stripped guitar is not the situation in which you want to start studying gauges. The full rundown by material, gauge and instrument type is in how to choose guitar strings, and once you know what you are after you will find it in guitar strings.
Depending on the instrument you go to acoustic guitar strings, electric guitar strings, nylon strings for classical guitars or classical guitar string sets, and if you are only replacing one broken string there are single strings too. Bass has its own category in bass guitar strings.
Depending on the instrument you go to acoustic guitar strings, electric guitar strings, nylon strings for classical guitars or classical guitar string sets, and if you are only replacing one broken string there are single strings too. Bass has its own category in bass guitar strings.
What to get ready
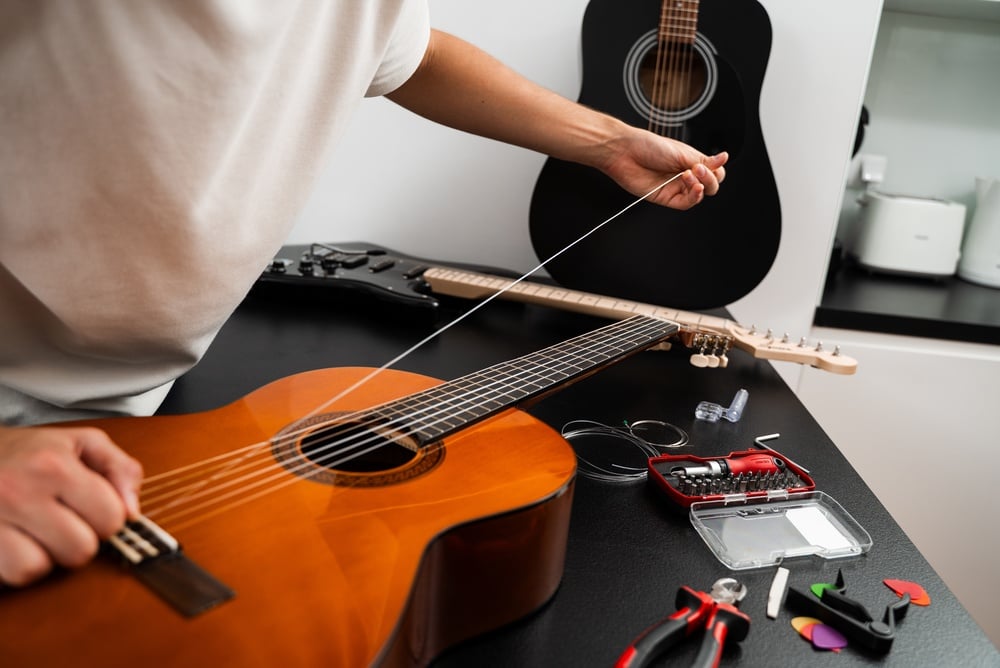
Three tools will do, and together they cost less than a single set of strings. The one that saves the most time is a string winder, because turning six tuners by hand takes longer than the rest of the job put together, and most winders have a notch on the end for lifting bridge pins, so you get two tools in one.
The second is a pair of string cutters, the small nippers you use to trim the leftover wire. Without them you have to bend the string back and forth until it snaps, which is slow and leaves a sharp spike that catches your hand every time you tune. The third is a tuner, which you need not only at the end but throughout, since new strings keep pulling themselves up for the first few hours.
On top of that get a cloth and something from guitar care, for example Dunlop cleaning products, Dunlop cleaning and polishing cloths, a full Dunlop cleaning kit or D'Addario cleaning products, because a restring gets you to places you cannot otherwise reach. Lay the guitar on a table with a rolled-up towel under the neck so it sits steady and does not rock every time you pull, and if you have nowhere to park it between sessions, a guitar stand is worth adding.
The second is a pair of string cutters, the small nippers you use to trim the leftover wire. Without them you have to bend the string back and forth until it snaps, which is slow and leaves a sharp spike that catches your hand every time you tune. The third is a tuner, which you need not only at the end but throughout, since new strings keep pulling themselves up for the first few hours.
On top of that get a cloth and something from guitar care, for example Dunlop cleaning products, Dunlop cleaning and polishing cloths, a full Dunlop cleaning kit or D'Addario cleaning products, because a restring gets you to places you cannot otherwise reach. Lay the guitar on a table with a rolled-up towel under the neck so it sits steady and does not rock every time you pull, and if you have nowhere to park it between sessions, a guitar stand is worth adding.
All at once, or one at a time?
Almost everyone worries about this the first time, and in most cases the worry is unnecessary. The neck of an ordinary guitar is built to handle changes in tension, and twenty minutes without strings does it no more harm than a change in the weather. Taking everything off at once also gives you access to the whole fretboard and headstock, so you can give the instrument a proper clean while you are there.
There are three situations where you really should go one at a time. The first is a guitar with a Floyd Rose or a floating tremolo, where the bridge balances string tension against springs in the body, so releasing all six lets it tip backwards and you start the setup over. The second is an instrument with a bridge that is not glued down and is held in place only by string pressure, where you should pencil round its position before you begin. And thirdly it is worth going one by one whenever you are unsure how the guitar was put together, because the remaining strings work as a live reference.
There are three situations where you really should go one at a time. The first is a guitar with a Floyd Rose or a floating tremolo, where the bridge balances string tension against springs in the body, so releasing all six lets it tip backwards and you start the setup over. The second is an instrument with a bridge that is not glued down and is held in place only by string pressure, where you should pencil round its position before you begin. And thirdly it is worth going one by one whenever you are unsure how the guitar was put together, because the remaining strings work as a live reference.
Step 1: Slacken and remove the old string
Start by turning the tuner until the string loses tension completely and goes floppy. Only then can you cut it with the string cutters, because a string cut under tension whips back, scratches the finish and in the worst case catches an eye. It is the one point in the whole job where you can genuinely hurt yourself, so do not rush it.
Then pull the loose end out of the tuner post, and if it jams, do not yank it out, unwind the turns with the winder instead. If the post spins freely or feels loose while you do that, the problem is not the string but the tuning machine itself, which can be replaced on its own.
Then pull the loose end out of the tuner post, and if it jams, do not yank it out, unwind the turns with the winder instead. If the post spins freely or feels loose while you do that, the problem is not the string but the tuning machine itself, which can be replaced on its own.
Step 2: Clean the fretboard
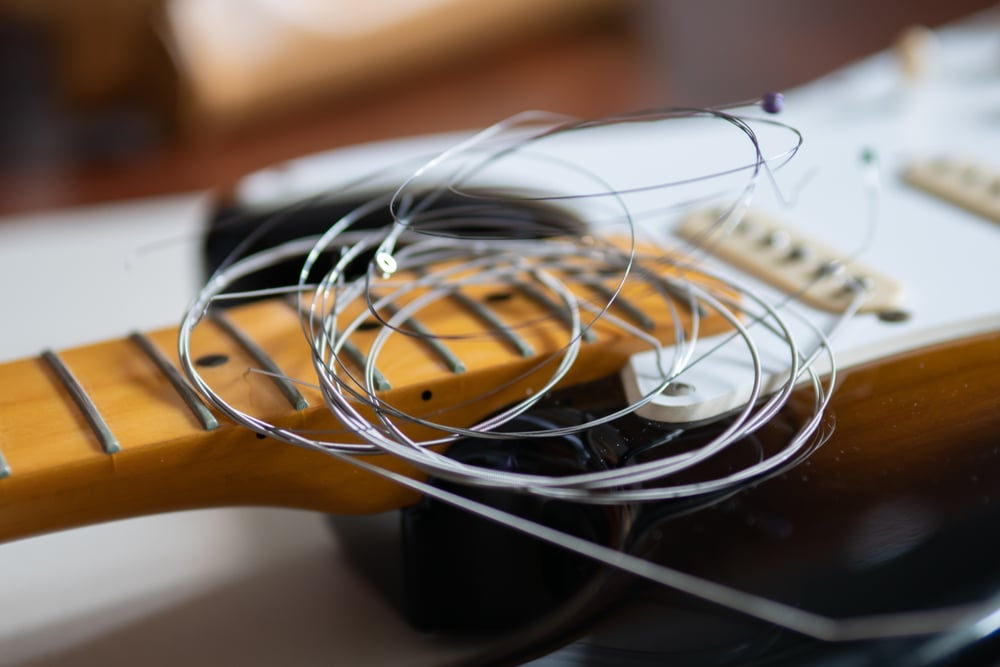
The moment when the fretboard is bare comes round a couple of times a year, so make use of it. Wipe the gunk from under where the strings normally sit with a dry cloth, and you will usually be surprised how much has built up in a few months, because it is a mix of sweat, dust and worn-off metal.
Go carefully with fretboard oil, because more bad advice circulates about it than good. It belongs strictly on unfinished wood, meaning rosewood or ebony, and twice a year is genuinely enough. On a lacquered maple board, the kind most Fender Stratocaster style guitars have, oil has no place at all, since the finish lets nothing through and all you achieve is a greasy surface that holds dust. If you do use it, always put it on the cloth rather than straight onto the wood, wipe the excess off immediately and let the board rest for a while. Suitable products are in guitar care and Dunlop cleaning products.
Go carefully with fretboard oil, because more bad advice circulates about it than good. It belongs strictly on unfinished wood, meaning rosewood or ebony, and twice a year is genuinely enough. On a lacquered maple board, the kind most Fender Stratocaster style guitars have, oil has no place at all, since the finish lets nothing through and all you achieve is a greasy surface that holds dust. If you do use it, always put it on the cloth rather than straight onto the wood, wipe the excess off immediately and let the board rest for a while. Suitable products are in guitar care and Dunlop cleaning products.

Step 3: Anchor the new string at the bridge
From here the procedure splits according to the type of guitar you own, because anchoring at the bridge is the one part of a restring that genuinely differs between acoustic, electric and classical.
Acoustic guitar
On an acoustic the string is held in the bridge by a pin, and this is where most avoidable damage happens. Never lever the pin out sideways with pliers, because it will either snap or chip the wood around the hole, and that repair costs more than ten sets of strings. Instead push the string down into the body first, which frees the ball end from under the bridge plate, and then the pin lifts out easily with the notch on your winder. If it still will not come, it means the ball end is pressing up from below, not that the pin is stuck. And if one does break, it is no disaster, bridge pins are sold singly and in sets.
Feed the new string through the hole, push it in and put the pin back with its groove facing the soundhole, that is towards the string itself. Then pull the string up slowly until you feel the ball end seat against the bridge plate from the inside, holding the pin down with your thumb as you go. Skip this and the string will lift out along with the pin once it comes up to pitch, usually on the very first chord. Suitable sets are in acoustic guitar strings, and the most used gauges are .011 and .012.
Feed the new string through the hole, push it in and put the pin back with its groove facing the soundhole, that is towards the string itself. Then pull the string up slowly until you feel the ball end seat against the bridge plate from the inside, holding the pin down with your thumb as you go. Skip this and the string will lift out along with the pin once it comes up to pitch, usually on the very first chord. Suitable sets are in acoustic guitar strings, and the most used gauges are .011 and .012.
Electric guitar
Electric guitars come with several bridge types and the procedure follows from that. If the string runs through the body, you feed it from the back and pull until the ball end seats against the rear of the instrument. On top-load bridges, the ones the string drops into from above, you simply hook it straight into the bridge. On a Stratocaster style tremolo the string runs through a block hidden under the back cover, so unscrew the cover and watch that the strings do not cross each other inside. If you find a worn part along the way, have a look at guitar bridges and tailpieces or at the whole guitar hardware section.
The Floyd Rose is a chapter of its own, where you change strictly one string at a time, return the fine tuners to the middle of their range before you start and seat the string in the clamp straight rather than at an angle. We have written the whole procedure up in how to set up a Floyd Rose. If you move to a different gauge, the tension changes and with it the position of the bridge, so how to set up an electric guitar comes in handy too.
Electric gauges start lower than acoustic ones, the most common being .009, which bends easily, and .010, which gives a fatter tone, and the full range is in electric guitar strings.
The Floyd Rose is a chapter of its own, where you change strictly one string at a time, return the fine tuners to the middle of their range before you start and seat the string in the clamp straight rather than at an angle. We have written the whole procedure up in how to set up a Floyd Rose. If you move to a different gauge, the tension changes and with it the position of the bridge, so how to set up an electric guitar comes in handy too.
Electric gauges start lower than acoustic ones, the most common being .009, which bends easily, and .010, which gives a fatter tone, and the full range is in electric guitar strings.
Classical guitar
The classical guitar is the only one where the string has no ball end, so you have to tie it, and although it looks complicated at first, by the second string it goes by itself. Feed the end of the string through the hole in the bridge away from you, leave about 5 cm sticking out, loop it back around its own length and pass it under the loop you have just made.
The difference is in the number of wraps. Two are enough on the three bass strings, because their wound surface grips well, but on the three trebles make three or four, since clear nylon is slippery and with only two wraps the knot simply lets go the first time you bring it up to pitch. Tighten slowly and watch whether the knot pulls in behind the edge of the bridge rather than on top of it, because otherwise the edge will cut through the string in time. Sets are in nylon strings for classical guitars and in classical guitar string sets, while the instrument itself is covered in how to choose a classical guitar.
The difference is in the number of wraps. Two are enough on the three bass strings, because their wound surface grips well, but on the three trebles make three or four, since clear nylon is slippery and with only two wraps the knot simply lets go the first time you bring it up to pitch. Tighten slowly and watch whether the knot pulls in behind the edge of the bridge rather than on top of it, because otherwise the edge will cut through the string in time. Sets are in nylon strings for classical guitars and in classical guitar string sets, while the instrument itself is covered in how to choose a classical guitar.
Step 4: Leave slack at the headstock
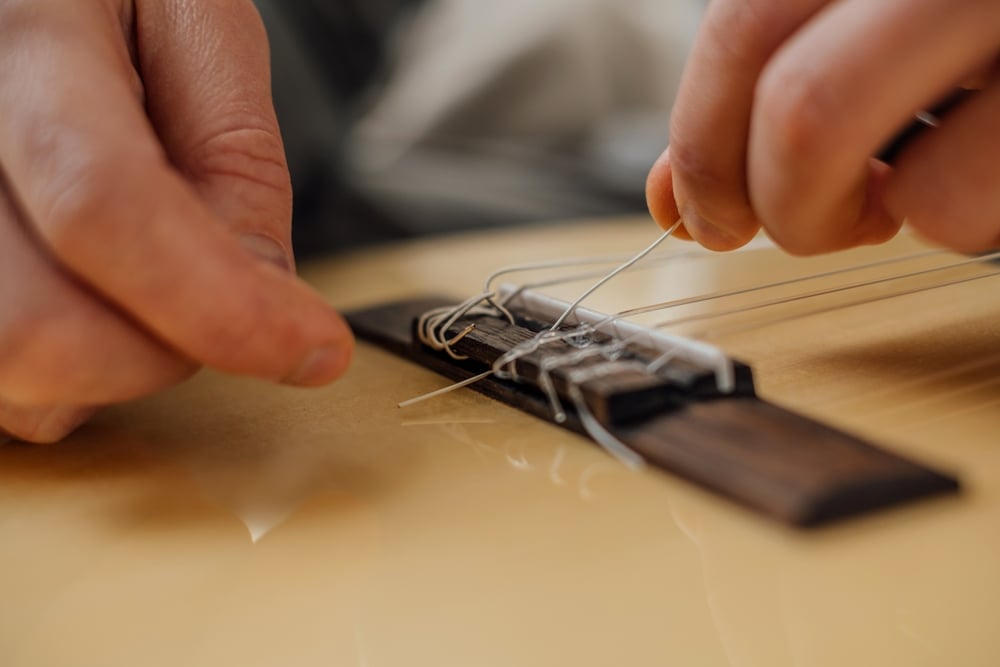
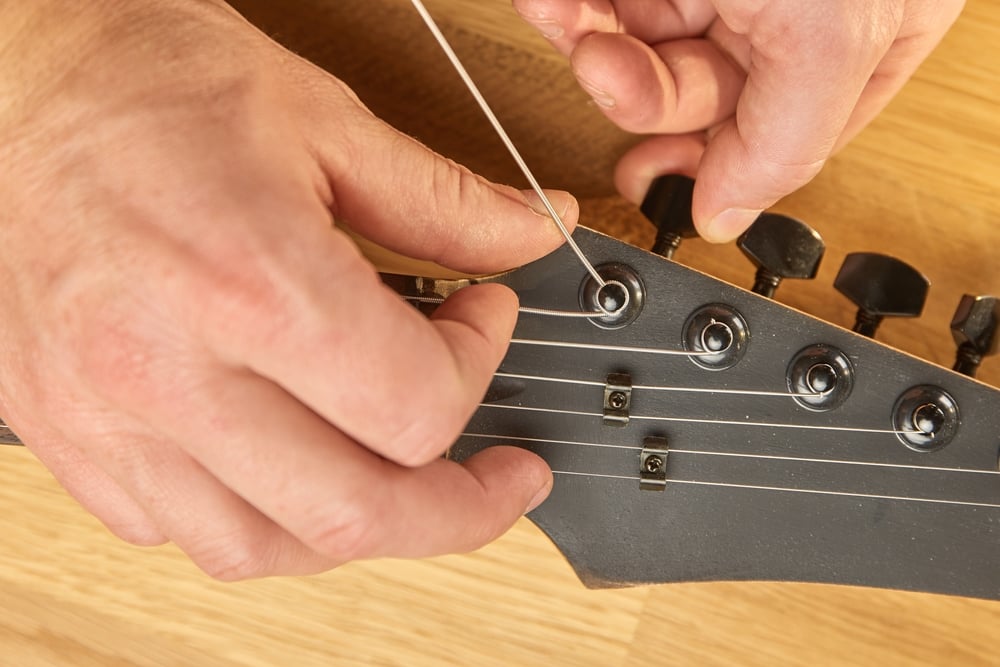
Before you wind anything, thread the string through the hole in the post and leave two or three fingers of slack past the nut. Without that slack you have nothing to make the necessary turns from and the string will slip in the post, but leave too much and you end up with an untidy pile of wire on the post that keeps settling for days, and the tuning settles with it.
Step 5: Wind the tuner
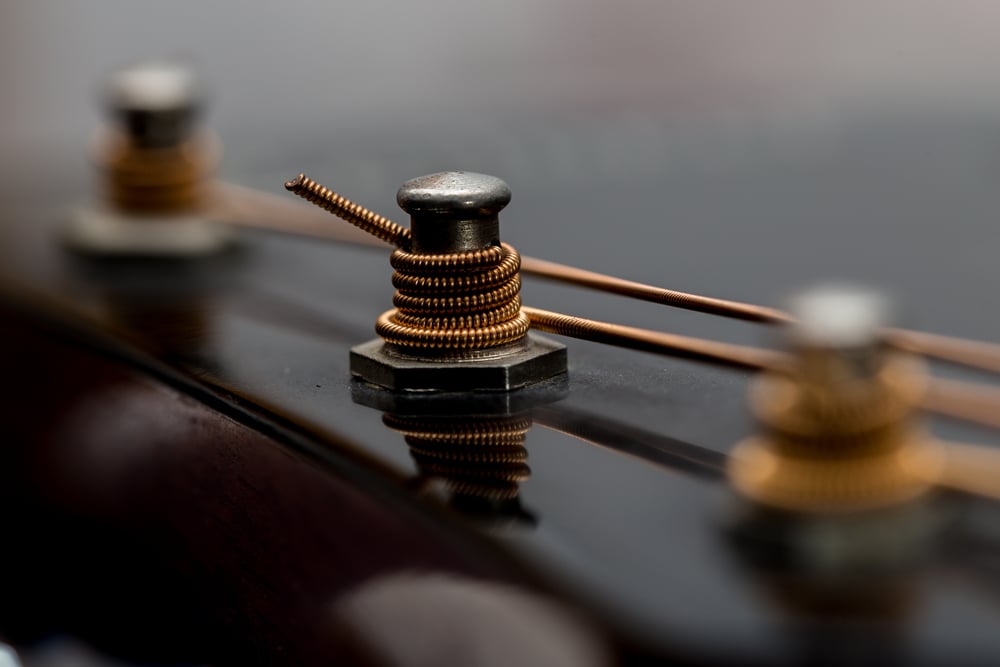
This is where most tuning problems start, the ones people later blame on a cheap instrument or bad tuning machines. Strings should wind towards the inside of the headstock so that they run from the post to the nut as straight as possible, and on a classic three plus three headstock that means the bass strings turn one way and the trebles exactly the other.
The number of turns is a matter of function, not looks. Two or three are enough on the wound bass strings, because their rough surface grips by friction on its own, but on the thin trebles make three to five, otherwise the smooth string slips in the post and the guitar will keep drifting flat even if you tune it ten times in a row. The turns should also stack neatly under one another going down towards the headstock and must not cross over each other, because crossed wire keeps bedding in as you play and the pitch drops for another two days.
The number of turns is a matter of function, not looks. Two or three are enough on the wound bass strings, because their rough surface grips by friction on its own, but on the thin trebles make three to five, otherwise the smooth string slips in the post and the guitar will keep drifting flat even if you tune it ten times in a row. The turns should also stack neatly under one another going down towards the headstock and must not cross over each other, because crossed wire keeps bedding in as you play and the pitch drops for another two days.
Step 6: Cut the excess
Once the string is roughly up to pitch, trim the leftover wire short with the cutters, right at the post. Do not leave a couple of centimetres sticking out just in case, because an end like that catches your hand every time you tune and scratches the finish on the headstock inside the case.
Step 7: Stretch the strings
New strings come off the factory spool coiled and keep pulling themselves up for the first few hours, so if you do not stretch them by hand you will be retuning after every single song and start blaming the manufacturer. Tune the guitar roughly first, then grab the string at the twelfth fret and pull it gently up away from the fretboard, about 2 cm, working along its whole length from the bridge to the headstock.
Then tune again and repeat the whole thing three or four times, and you are done when the pitch stops changing after a pull. There is no need to be rough, because the aim is to bed the turns in and even out the tension along the length, not to stretch the string by force. Steel strings settle after a few hours of playing, while nylon needs three to five days and on the first day you will be tuning several times over.
Then tune again and repeat the whole thing three or four times, and you are done when the pitch stops changing after a pull. There is no need to be rough, because the aim is to bed the turns in and even out the tension along the length, not to stretch the string by force. Steel strings settle after a few hours of playing, while nylon needs three to five days and on the first day you will be tuning several times over.
Step 8: Tune up and check the whole neck
Tune the guitar properly with a tuner and then play every string along the whole length of the neck, listening for any buzzing against a fret. If you are unsure of the procedure, how to tune a guitar covers the whole thing step by step.
Finally check two things people forget after a restring. The first is the string height above the fretboard, the second is whether chords at the twelfth fret are as clean as at the first. Moving to a different gauge changes the pull on the neck and the instrument often asks for a truss rod adjustment, which is normal and not a fault. And while the guitar is in your hands, check that you actually have something to play with, because picks go missing even faster than strings, and see whether a forgotten capo is lying around somewhere.
Finally check two things people forget after a restring. The first is the string height above the fretboard, the second is whether chords at the twelfth fret are as clean as at the first. Moving to a different gauge changes the pull on the neck and the instrument often asks for a truss rod adjustment, which is normal and not a fault. And while the guitar is in your hands, check that you actually have something to play with, because picks go missing even faster than strings, and see whether a forgotten capo is lying around somewhere.
What can go wrong
There are only a handful of mistakes we see again and again, and all of them are avoidable. The most dangerous is cutting a string under tension, which whips back and can hit your face as well as the finish, so always slacken it first. Right behind that is levering a bridge pin out with pliers, because chipped wood around the hole is a repair that costs more than ten sets of strings together.
The next three are not dangerous, just annoying. Too few turns on the treble strings means the guitar will not hold tuning, and people then go hunting for a fault in tuners that are perfectly fine. Skipping the stretch means two days of tuning instead of playing, and again the strings take the blame although it is not their fault. And if you drop to a lower tuning without changing gauge, the strings will flap and you lose the very tone you were after.
If something does break along the way, most small parts can be bought separately in guitar spare parts, and the rest of what is worth keeping at home is together in guitar accessories.
The next three are not dangerous, just annoying. Too few turns on the treble strings means the guitar will not hold tuning, and people then go hunting for a fault in tuners that are perfectly fine. Skipping the stretch means two days of tuning instead of playing, and again the strings take the blame although it is not their fault. And if you drop to a lower tuning without changing gauge, the strings will flap and you lose the very tone you were after.
If something does break along the way, most small parts can be bought separately in guitar spare parts, and the rest of what is worth keeping at home is together in guitar accessories.
The short version
The whole job rests on five things, and once you have them the rest is routine. Slacken the string before you cut it. Free the bridge pin by pushing the string into the body, never with pliers. Leave two or three fingers of slack at the headstock and wind three to five turns on the thin strings, with the first turn above the end and the rest below it. Then stretch the strings properly and only tune up for real at the very end.
Your first restring will take an hour and you will be nervous, the second half an hour, and by the third you will be thinking about something else while you do it. A set of strings costs less than lunch, so do not be afraid to change them more often than you think you need to, because you hear the difference straight away. And if you still do not fancy it after reading all this, bring the guitar to one of our showrooms and we will do it while you wait.
Your first restring will take an hour and you will be nervous, the second half an hour, and by the third you will be thinking about something else while you do it. A set of strings costs less than lunch, so do not be afraid to change them more often than you think you need to, because you hear the difference straight away. And if you still do not fancy it after reading all this, bring the guitar to one of our showrooms and we will do it while you wait.
Frequently asked questions
How often should you change guitar strings?
If you play an hour a day, reckon on roughly one set a month, while occasional playing will comfortably get you half a year. What decides it is the condition of the strings and not the calendar, so when they sound dull, stop holding pitch or you can feel notches on them, it is time regardless of how long ago you fitted them.
Can I replace just one broken string?
You can, and that is exactly what single strings sold by the piece are for. The new one will sound brighter than the rest of the set though, and it will keep settling for a few days, so if the set already has a few months on it, changing everything is the better call.
Will the neck warp if I take all the strings off at once?
On an ordinary guitar, no, because the neck is built for changes in tension and twenty minutes without strings does it no harm. Go one at a time only on a Floyd Rose, on a floating tremolo and on instruments with a bridge that is not glued down, where the setup would fall apart.
How many turns should there be on the tuner?
Two or three are enough on the wound bass strings, and on the thin trebles make three to five. They should stack under one another going downwards and must not cross, with the first turn above the end of the string and all the rest below it so the end locks itself in.
Why will my new strings not hold their tuning?
Almost always because they were not stretched properly or have too few turns on the post. Pull every string up at the twelfth fret, retune and repeat a few times, and if only one is misbehaving, look at how it is wound and whether it is binding in the nut. If the post spins freely, the tuning machine is worn.
The bridge pin will not come out, what now?
Definitely do not pull it with pliers, because you will chip the wood. Push the string into the body first so the ball end comes free from under the bridge plate, and then the pin lifts out with the notch on your winder, since the resistance almost always comes from the ball below rather than the pin itself. And if it breaks anyway, new bridge pins cost a couple of euros.
Can I do it without a winder and cutters?
You will manage, but it will take you about three times longer and a bent string end stays sharp instead of cleanly cut. Both tools together cost a couple of euros and you will find them in guitar tools, so it is worth buying them with your first set.
Which fretboard oil and how often?
Use it only on unfinished wood, meaning rosewood and ebony, and twice a year is plenty. Oil has no business on lacquered maple, since the finish will not take it, and always apply it to a cloth rather than straight to the wood, wiping the excess off immediately. Suitable products are in guitar care.
How long does a restring take?
Allow an hour the first time, because you will be checking every step, but after a few goes you will have it done in twenty minutes. A classical guitar always takes a bit longer than the others, because the knots at the bridge need patience and cannot be rushed.
Why does my string always break in the same place?
Because something sharp is pressing on it at that spot, and it will do the same to the next set. If it snaps at the bridge, there is usually a sharp edge or a groove on the saddle and the fix is a replacement part from guitar bridges and tailpieces, and if it snaps at the headstock, the culprit is a badly cut nut.
What about bass strings and how do you change them?
Bass has its own procedure, thicker strings and a longer scale, meaning the vibrating length of the string, so it deserves its own read. Sets are in bass guitar strings and the full step-by-step is in how to change bass guitar strings.
Do you fit a capo differently after a restring?
After moving to a heavier gauge you will notice the capo reacts more sensitively, because too much pressure pulls the notes upwards and the chords then sound sharp. Tighten it only enough that the strings do not buzz, and not a bit further.