 Albania
 Argentina
 Australia
 Austria
 Belgium
 Bosnia and Herzegovina
 Brazil
 Bulgaria
 Canada
 Chile
Chile
 Colombia
 Croatia
 Czech Republic
 Denmark
 Estonia
 Finland
 France
 Germany
 Greece
 Hungary
 Ireland
 Italy
Italy
 Latvia
 Lithuania
 Luxembourg
 Mexico
 Moldova
 Montenegro
 Netherlands
 New Zealand
 North Macedonia
 Norway
 Philippines
 Poland
 Portugal
 Romania
 Serbia
 Slovakia
 Slovenia
 South Africa
 Spain
Spain
 Sweden
 Switzerland
 Turkey
 Ukraine
 United Kingdom
 United States of America



Microphone Preamps
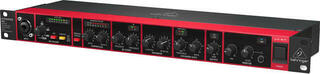
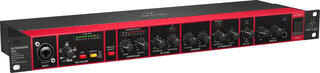
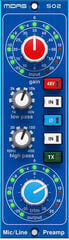
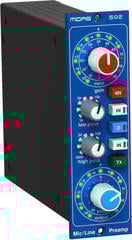
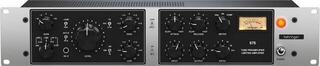
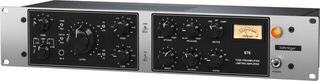
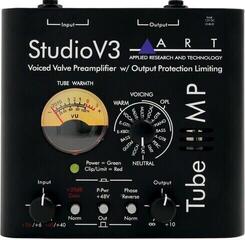
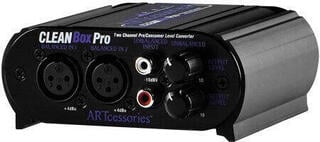
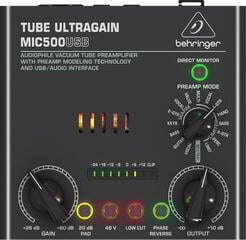
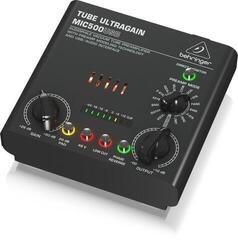
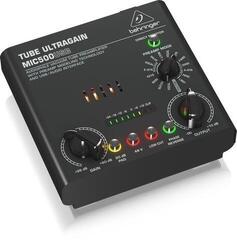
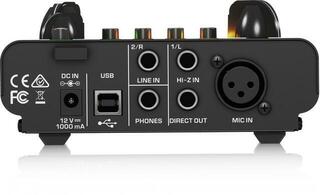
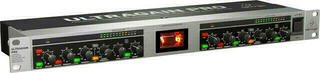
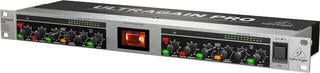
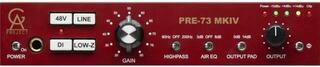
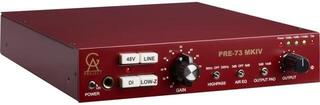
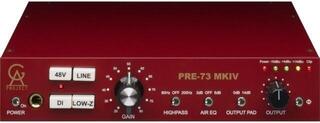
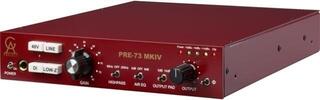
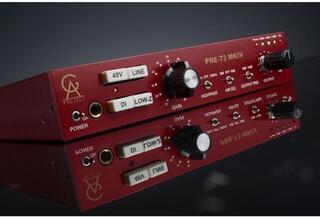
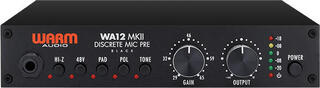
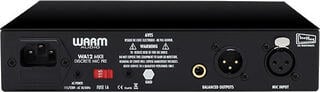
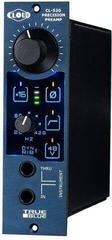
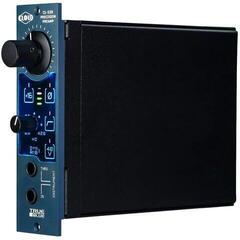
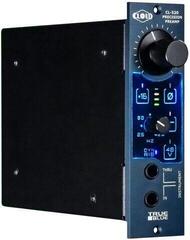
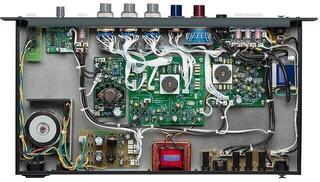
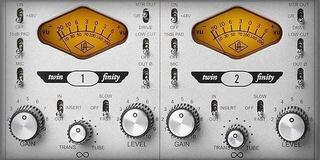
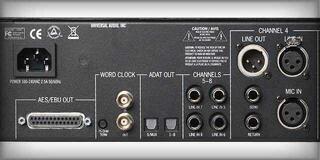
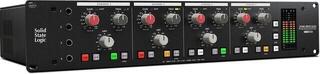
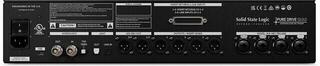
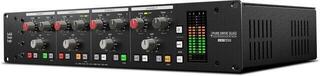
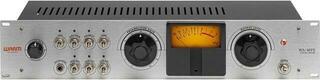
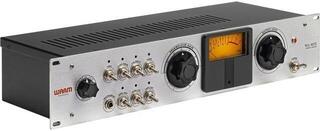
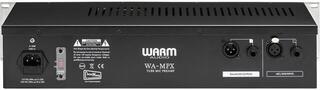
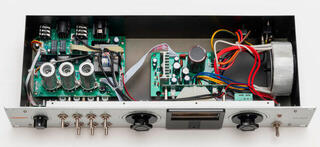
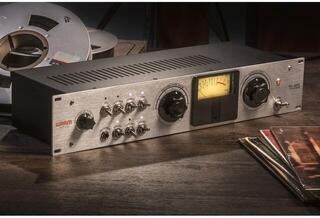
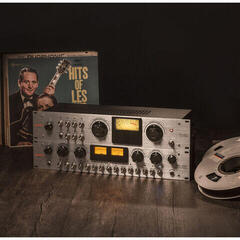
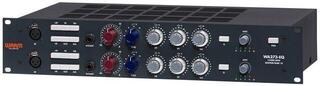
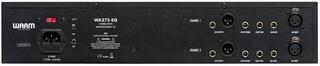
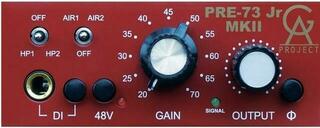
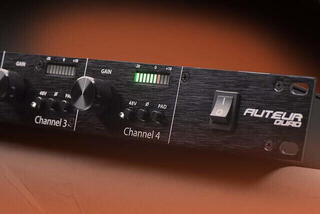
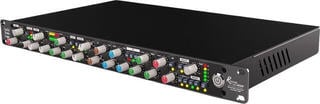
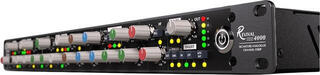
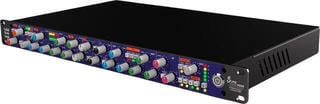
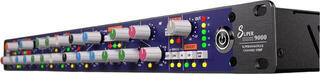
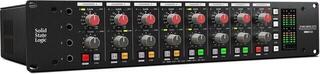
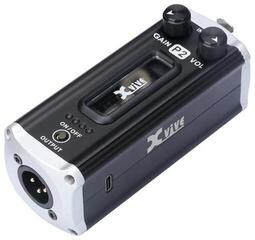
A microphone preamp raises the weak signal from a microphone to a level suitable for further processing or recording. A standalone preamp is useful when you need more inputs, more clean-gain headroom, particular routing options or intentional tonal colour. Compare channel count, input types, available gain, level metering and phantom power. Also check how its output will connect to your audio interface, recorder or mixer.
Gain staging without unwanted noise or distortion
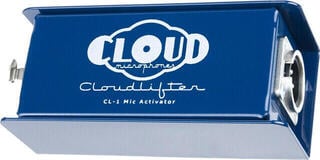
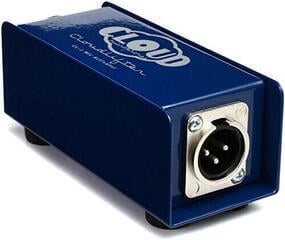
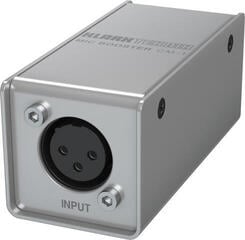
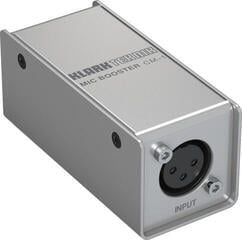
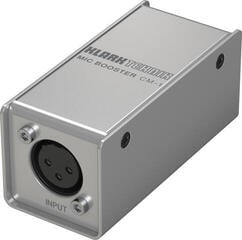
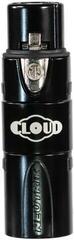
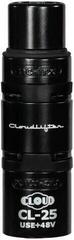
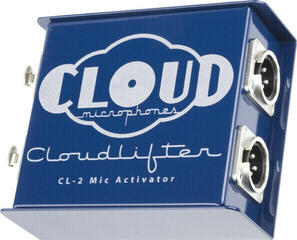
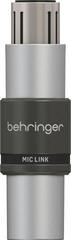
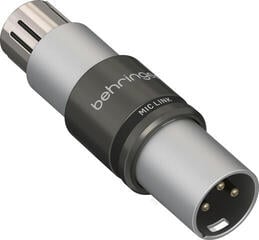
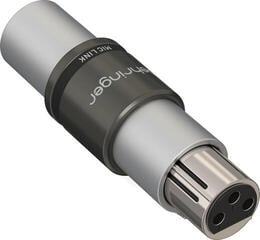
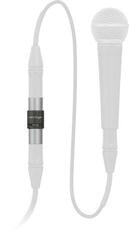
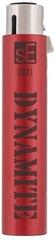
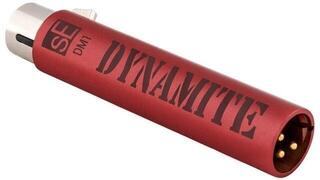
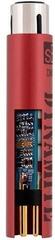
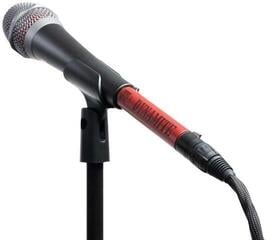
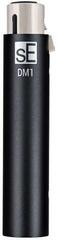
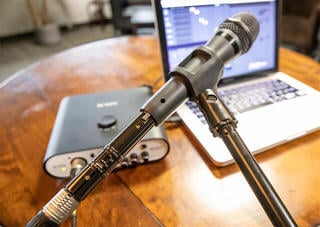
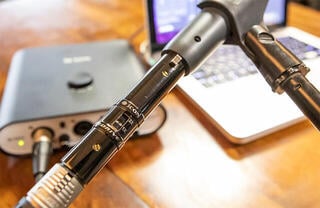
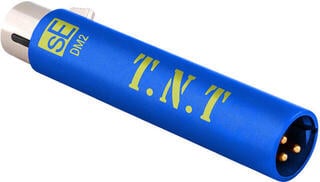
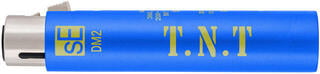
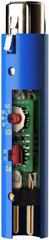
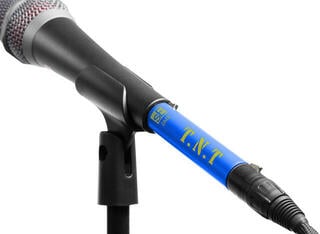
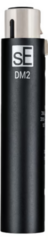
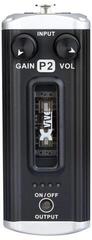
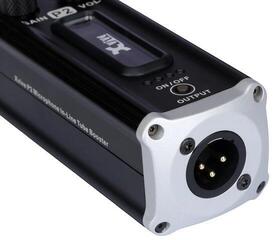
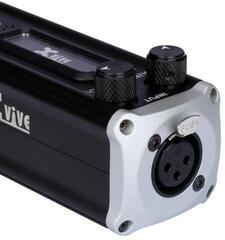
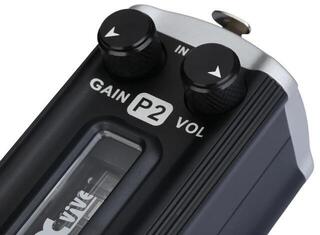
Gain controls the amplification at the preamp input. Start low, ask the performer to sing or play the loudest expected passage, then raise the level while watching the meter. Peaks should not clip; some headroom allows for unexpectedly louder moments. If a microphone has low output and the preamp must run near the top of its range, more clean gain or a compatible inline signal booster may be useful.
Channel count and inputs
| Format | Who it suits | What to check |
|---|---|---|
| Single-channel preamp | Vocals, speech or one instrument recorded separately | Microphone input type, output and gain range |
| Two-channel preamp | A stereo microphone pair or two sources recorded together | Matching channel controls and suitable level metering |
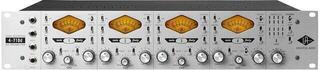
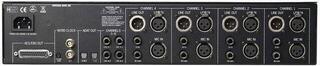
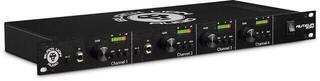
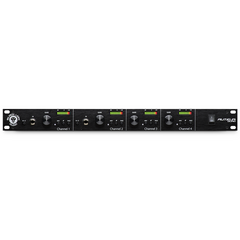
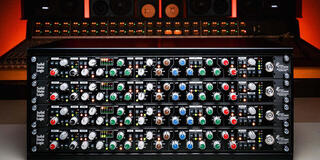
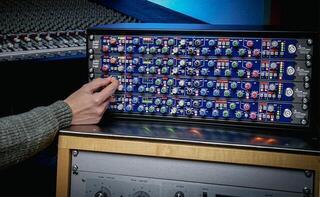
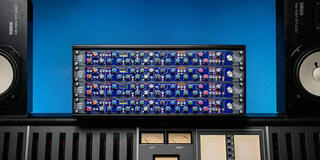
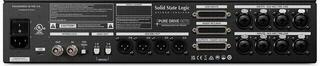
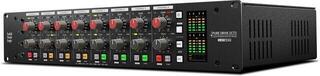
| Multichannel preamp | Drums, rehearsal rooms or expanding the number of inputs | Analogue or digital outputs and compatibility with the destination device |
| Preamp in an audio interface or mixer | A simple rig that does not need another device | Available gain, input count and routing options |
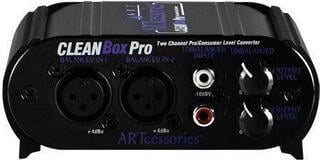
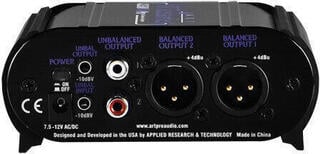
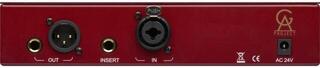
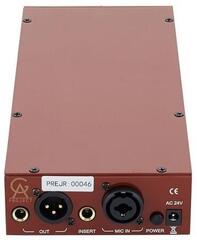
A combo input may accept both XLR and 6.3 mm plugs, but its microphone, line and instrument modes do not necessarily perform the same job. Connect the source to the input intended for its level. A standalone preamp output should normally feed a line input so the signal does not pass through unnecessary additional microphone amplification.
Phantom power and microphone type
A condenser microphone often requires 48 V phantom power, but the manufacturer's specification is decisive. A dynamic microphone usually does not need it. Check compatibility before switching it on with a passive ribbon microphone or unusually wired equipment. Mute the channel, lower the gain, connect the cable and only then enable power; reverse the sequence and allow the voltage to fall before disconnecting.
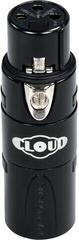
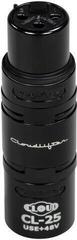
If the rig only lacks power for a compatible microphone, a phantom power adapter may solve that problem. It does not replace a microphone preamp: its job is to supply voltage, not to set the required gain or provide a line output.
Standalone preamp or audio-interface input?
A built-in preamp is often enough for home recording, podcasts and a simple studio rig. A standalone model makes sense when the built-in option lacks the required channel count, gain range, outputs or workflow function. Tonal colour can be a creative choice, not an automatic improvement to every recording. Compare functions across the whole signal path rather than focusing on the maximum gain figure alone.
A practical signal path
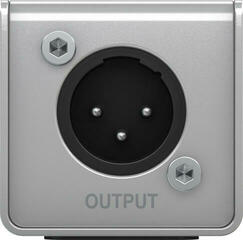
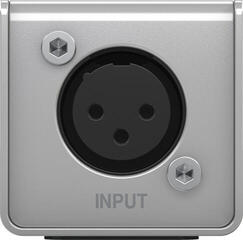
A common connection is microphone → XLR microphone cable → preamp → line input on an audio interface or recorder. A balanced XLR connection helps limit interference between microphone and preamp. If the path continues from the preamp over XLR or TRS, check that both output and destination input use a matching line level and balanced wiring.