 Albania
 Argentina
 Australia
 Austria
 Belgium
 Bosnia and Herzegovina
 Brazil
 Bulgaria
 Canada
 Chile
Chile
 Colombia
 Croatia
 Czech Republic
 Denmark
 Estonia
 Finland
 France
 Germany
 Greece
 Hungary
 Ireland
 Italy
Italy
 Latvia
 Lithuania
 Luxembourg
 Mexico
 Moldova
 Montenegro
 Netherlands
 New Zealand
 North Macedonia
 Norway
 Philippines
 Poland
 Portugal
 Romania
 Serbia
 Slovakia
 Slovenia
 South Africa
 Spain
Spain
 Sweden
 Switzerland
 Turkey
 Ukraine
 United Kingdom
 United States of America



Pedalboard: complete guide to pedal order, power and grounding
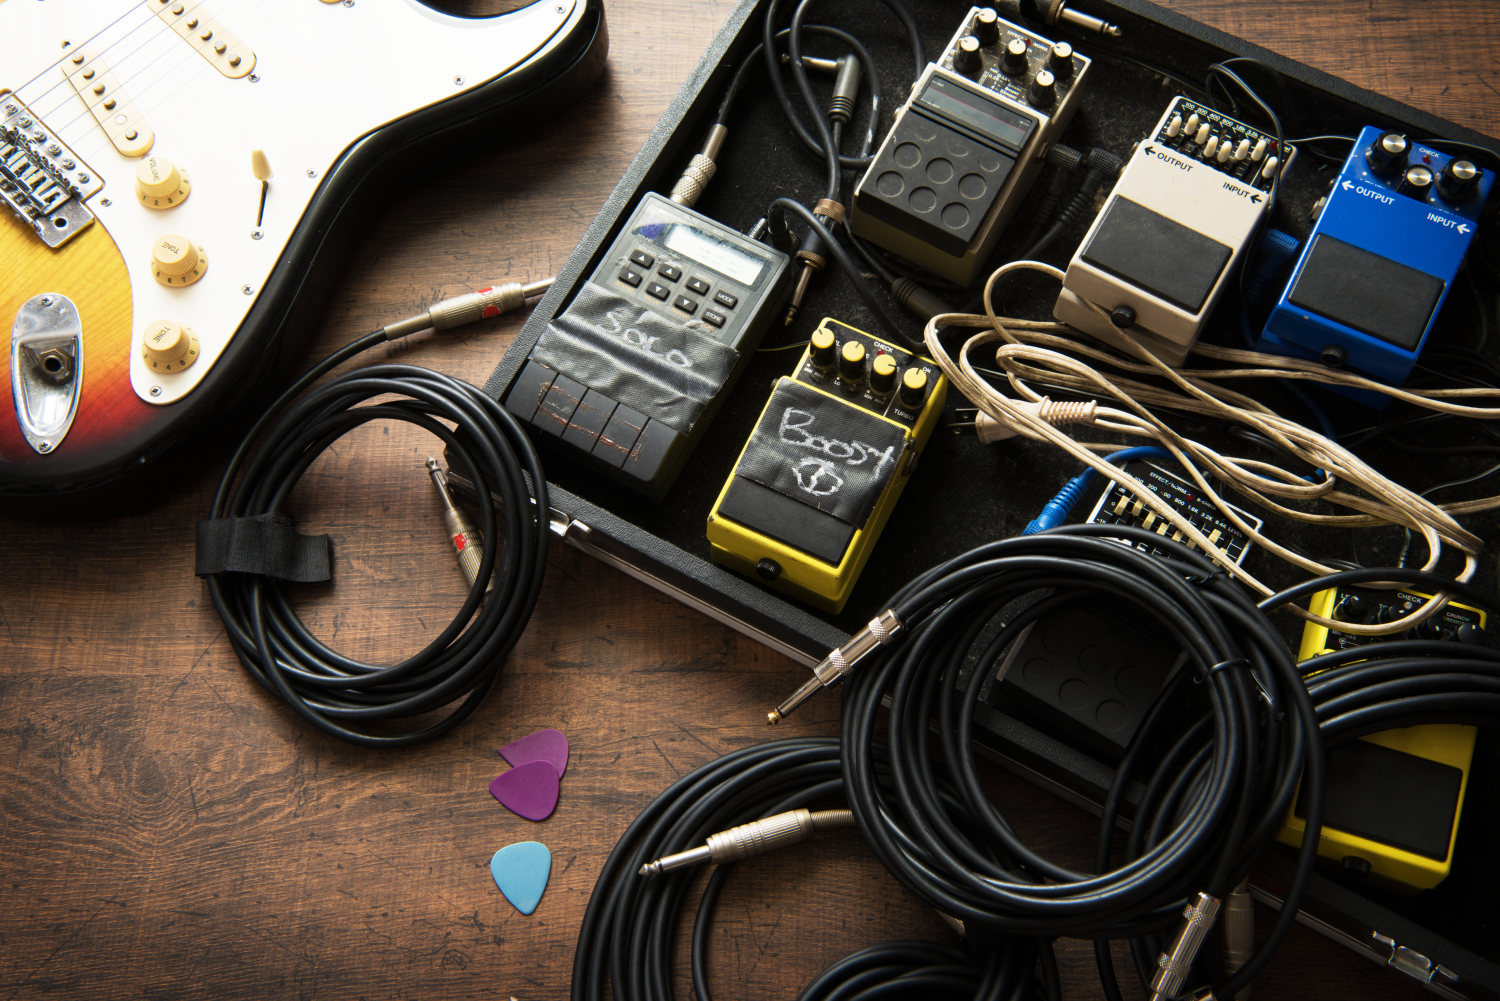
A pedalboard should make life easier for a guitarist or bassist: the important effects are within reach, cables are under control and the sound can be repeated at rehearsal and on stage. But when hum, whine or a thin digital chirp appears, the cause is usually one of three things: pedal order, power or grounding. The good news is that most of these faults can be found without test equipment – just work through the chain systematically.
Quick answer: start with a tuner and input effects, continue with compressor or wah, then overdrive, fuzz and distortion, followed by EQ and modulation, with delay and reverb at the end. If the amp has an effects loop, time-based and modulation effects often run quieter after the preamp.
Why a pedalboard gets noisy and where to look first
Noise from a pedalboard is usually not one big mistake, but a combination of small issues. Deep hum around 50 Hz often points to a ground loop. A thin whine or digital noise often appears with sensitive digital pedals or shared power. Another layer is ordinary gain noise: the more gain and pedals in the chain, the more every weakness shows up. Add long or cheap patch cables, weak shielding and unclear ordering of effects in a pedalboard – and the clean signal quickly starts to disappear.
Correct pedal order: signal first, character next, space last
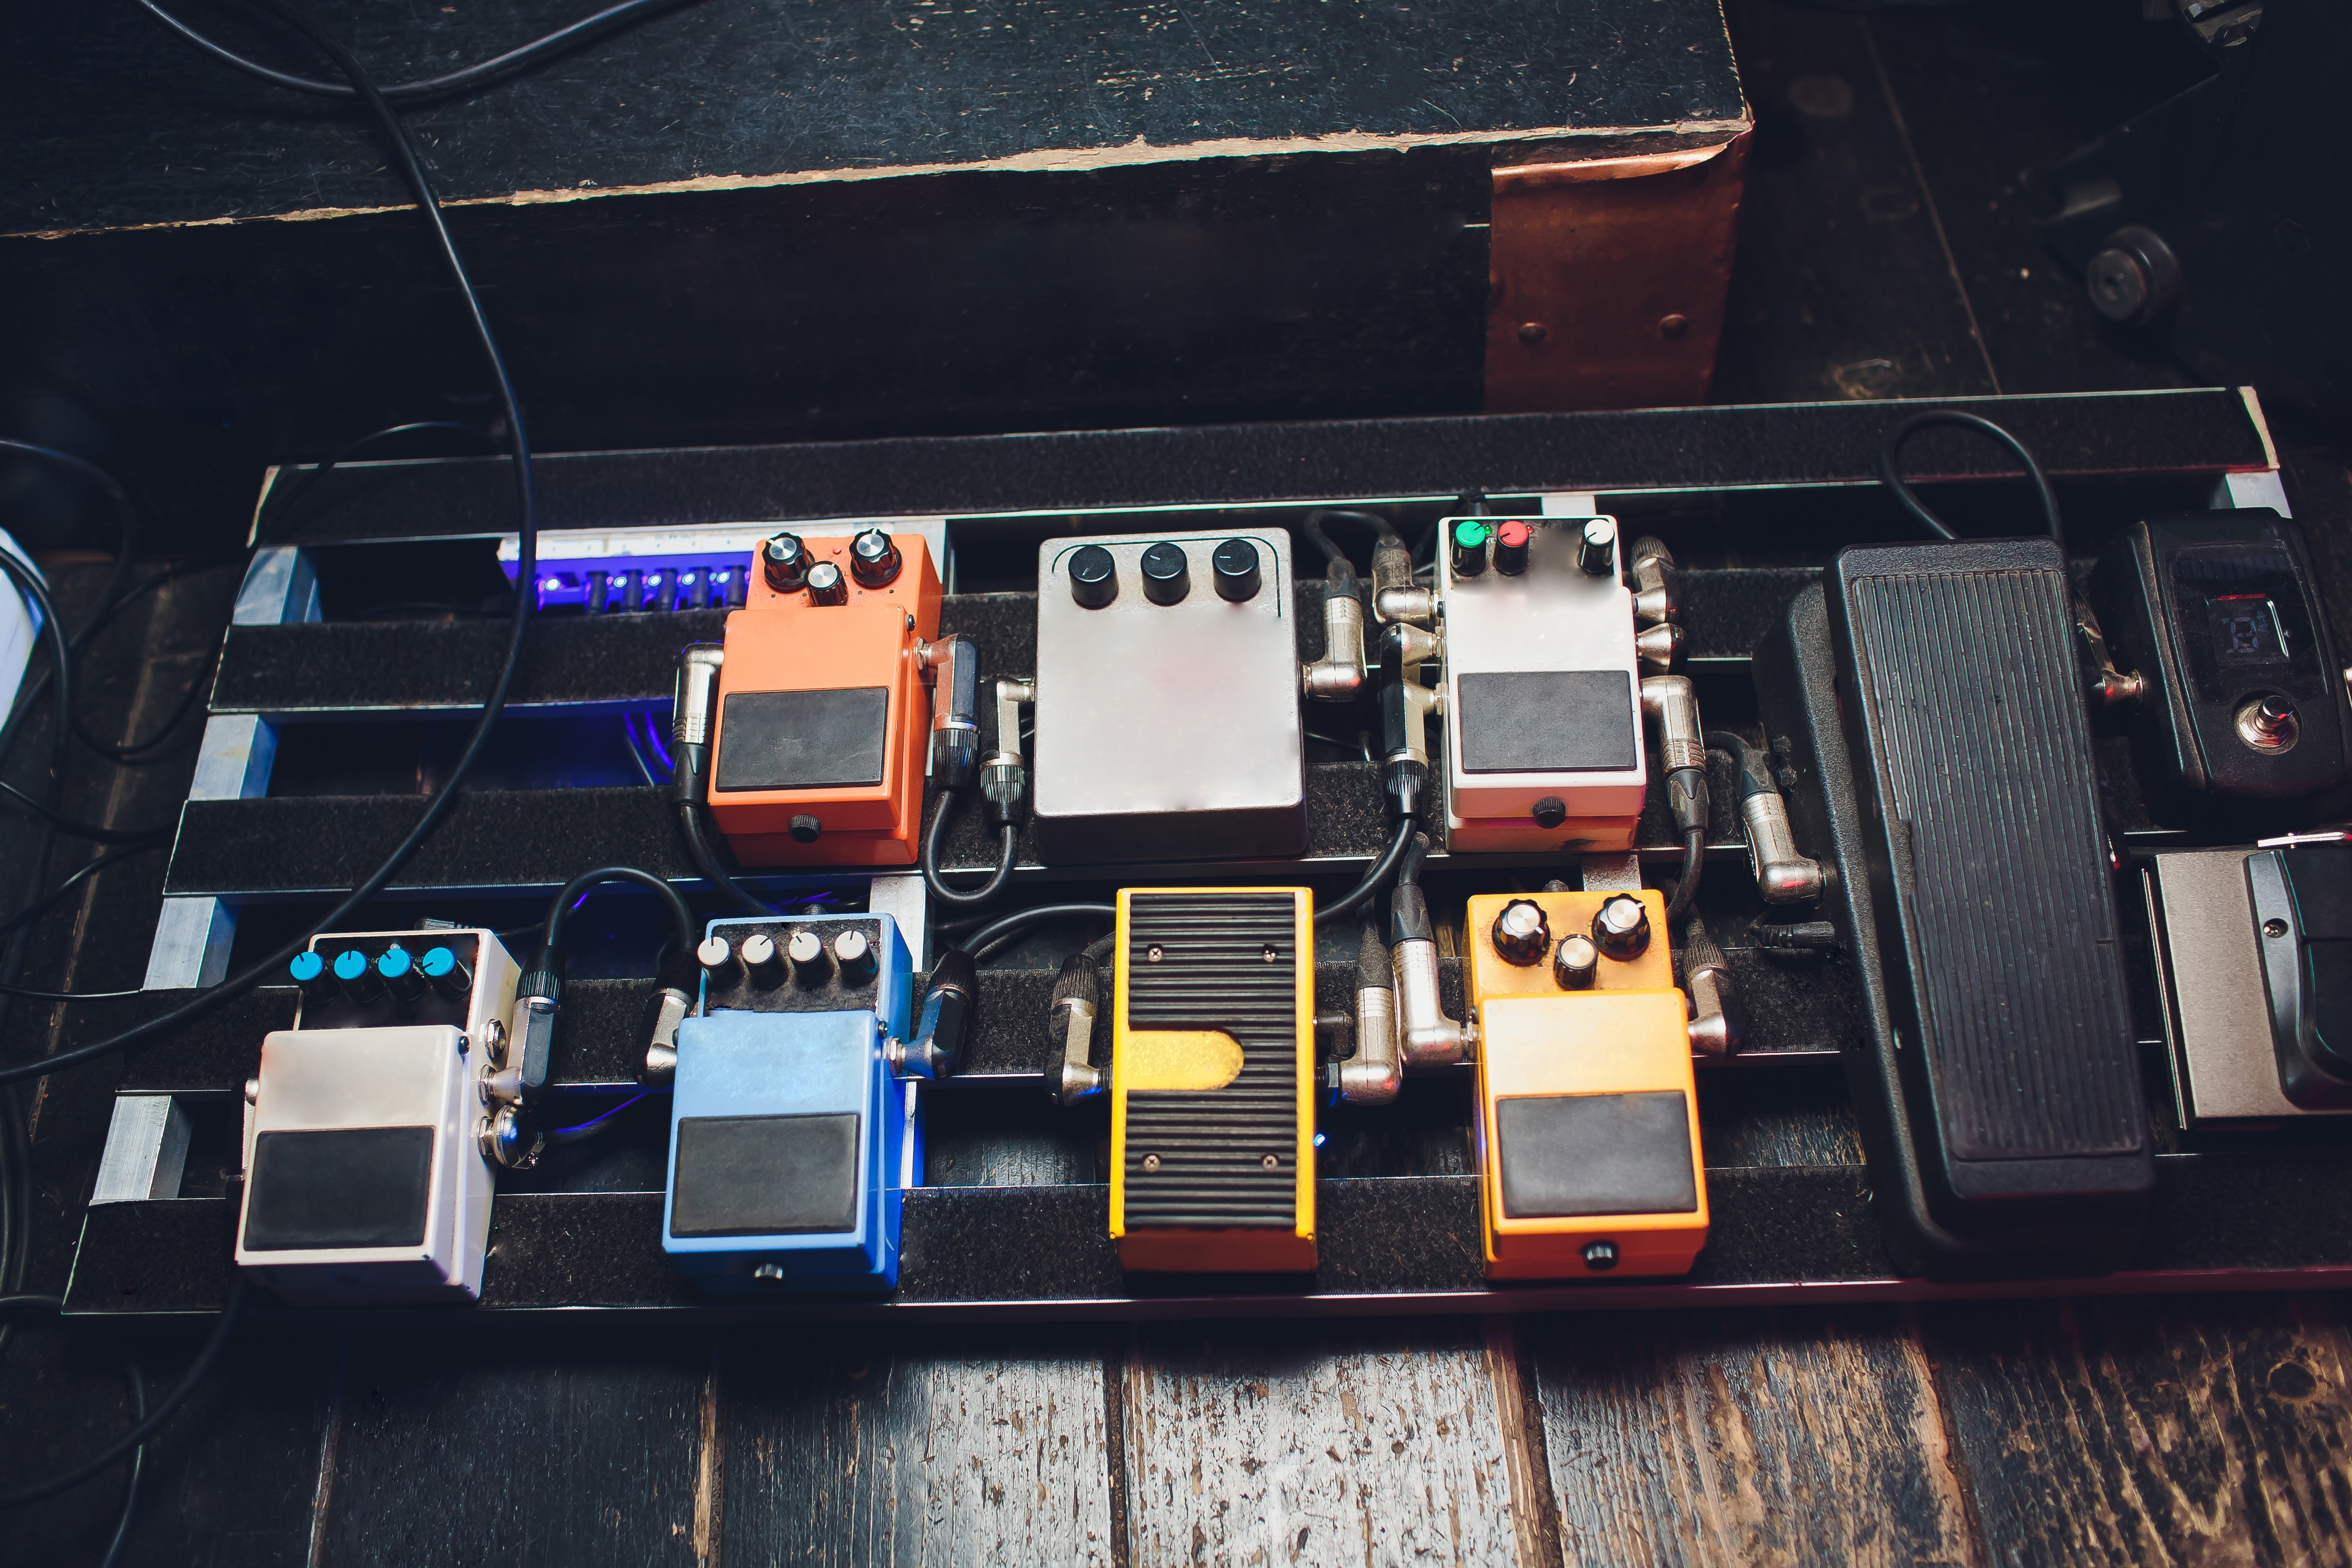
The safest approach is to order pedals by what they do to the signal. At the very start, place pedals that need the cleanest possible input from the instrument: a tuner, possibly wah-wah or a compressor. Effects that react strongly to playing dynamics can also belong here. After them, it makes sense to place overdrive, fuzz and distortion, because distortion shapes the character most and also highlights everything you feed into it.
After distortion comes fine tone shaping: an equalizer helps tidy up lows, mids or highs before the signal reaches spatial effects. Then come modulation effects such as chorus, flanger or tremolo. Leave time-based effects, especially delay and reverb, at the very end. This keeps repeats and ambience from being distorted again and makes the result easier to read.
Effects loop: when to use it
If your amplifier has an FX loop, it is worth testing. Keep the tuner, wah, compressor and drive pedals in front of the amp input – everything that works with the direct signal from guitar or bass. Move EQ, modulation, delay and reverb into the loop. These effects then receive the processed preamp signal and do not unnecessarily multiply noise created before them. With higher gain the difference can be clear: less clutter, cleaner ambience and better separated repeats.
Powering pedals: isolated outputs are the base of a quiet board
Power is half the battle. The most reliable option is a supply with isolated outputs, so each pedal has its own branch and does not carry noise from the others. Check the current draw – how many milliamps your pedals need – and leave roughly 20% headroom. Avoid putting sensitive or digital effects on the same branch as analogue pedals if you can. Also check voltage and polarity before connecting; most stompboxes use 9 V DC with centre negative.
Before switching on, run a quick check: correct voltage, correct polarity, enough current headroom, isolated outputs for sensitive pedals, short patch cables and power routed separately from the signal path.
Batteries make the most sense with low-current pedals such as overdrive or fuzz. With more demanding effects, voltage drops faster and can change the sound. A separate adapter for each effect is reliable, but takes space and adds more cables. Universal adapters are a practical alternative, but if they are not regulated or set correctly they can add a little noise. With more effects, a multi-output supply with isolated outputs and future headroom is therefore a sensible choice if you plan to expand your pedalboard.
Grounding, patch cables and cable order
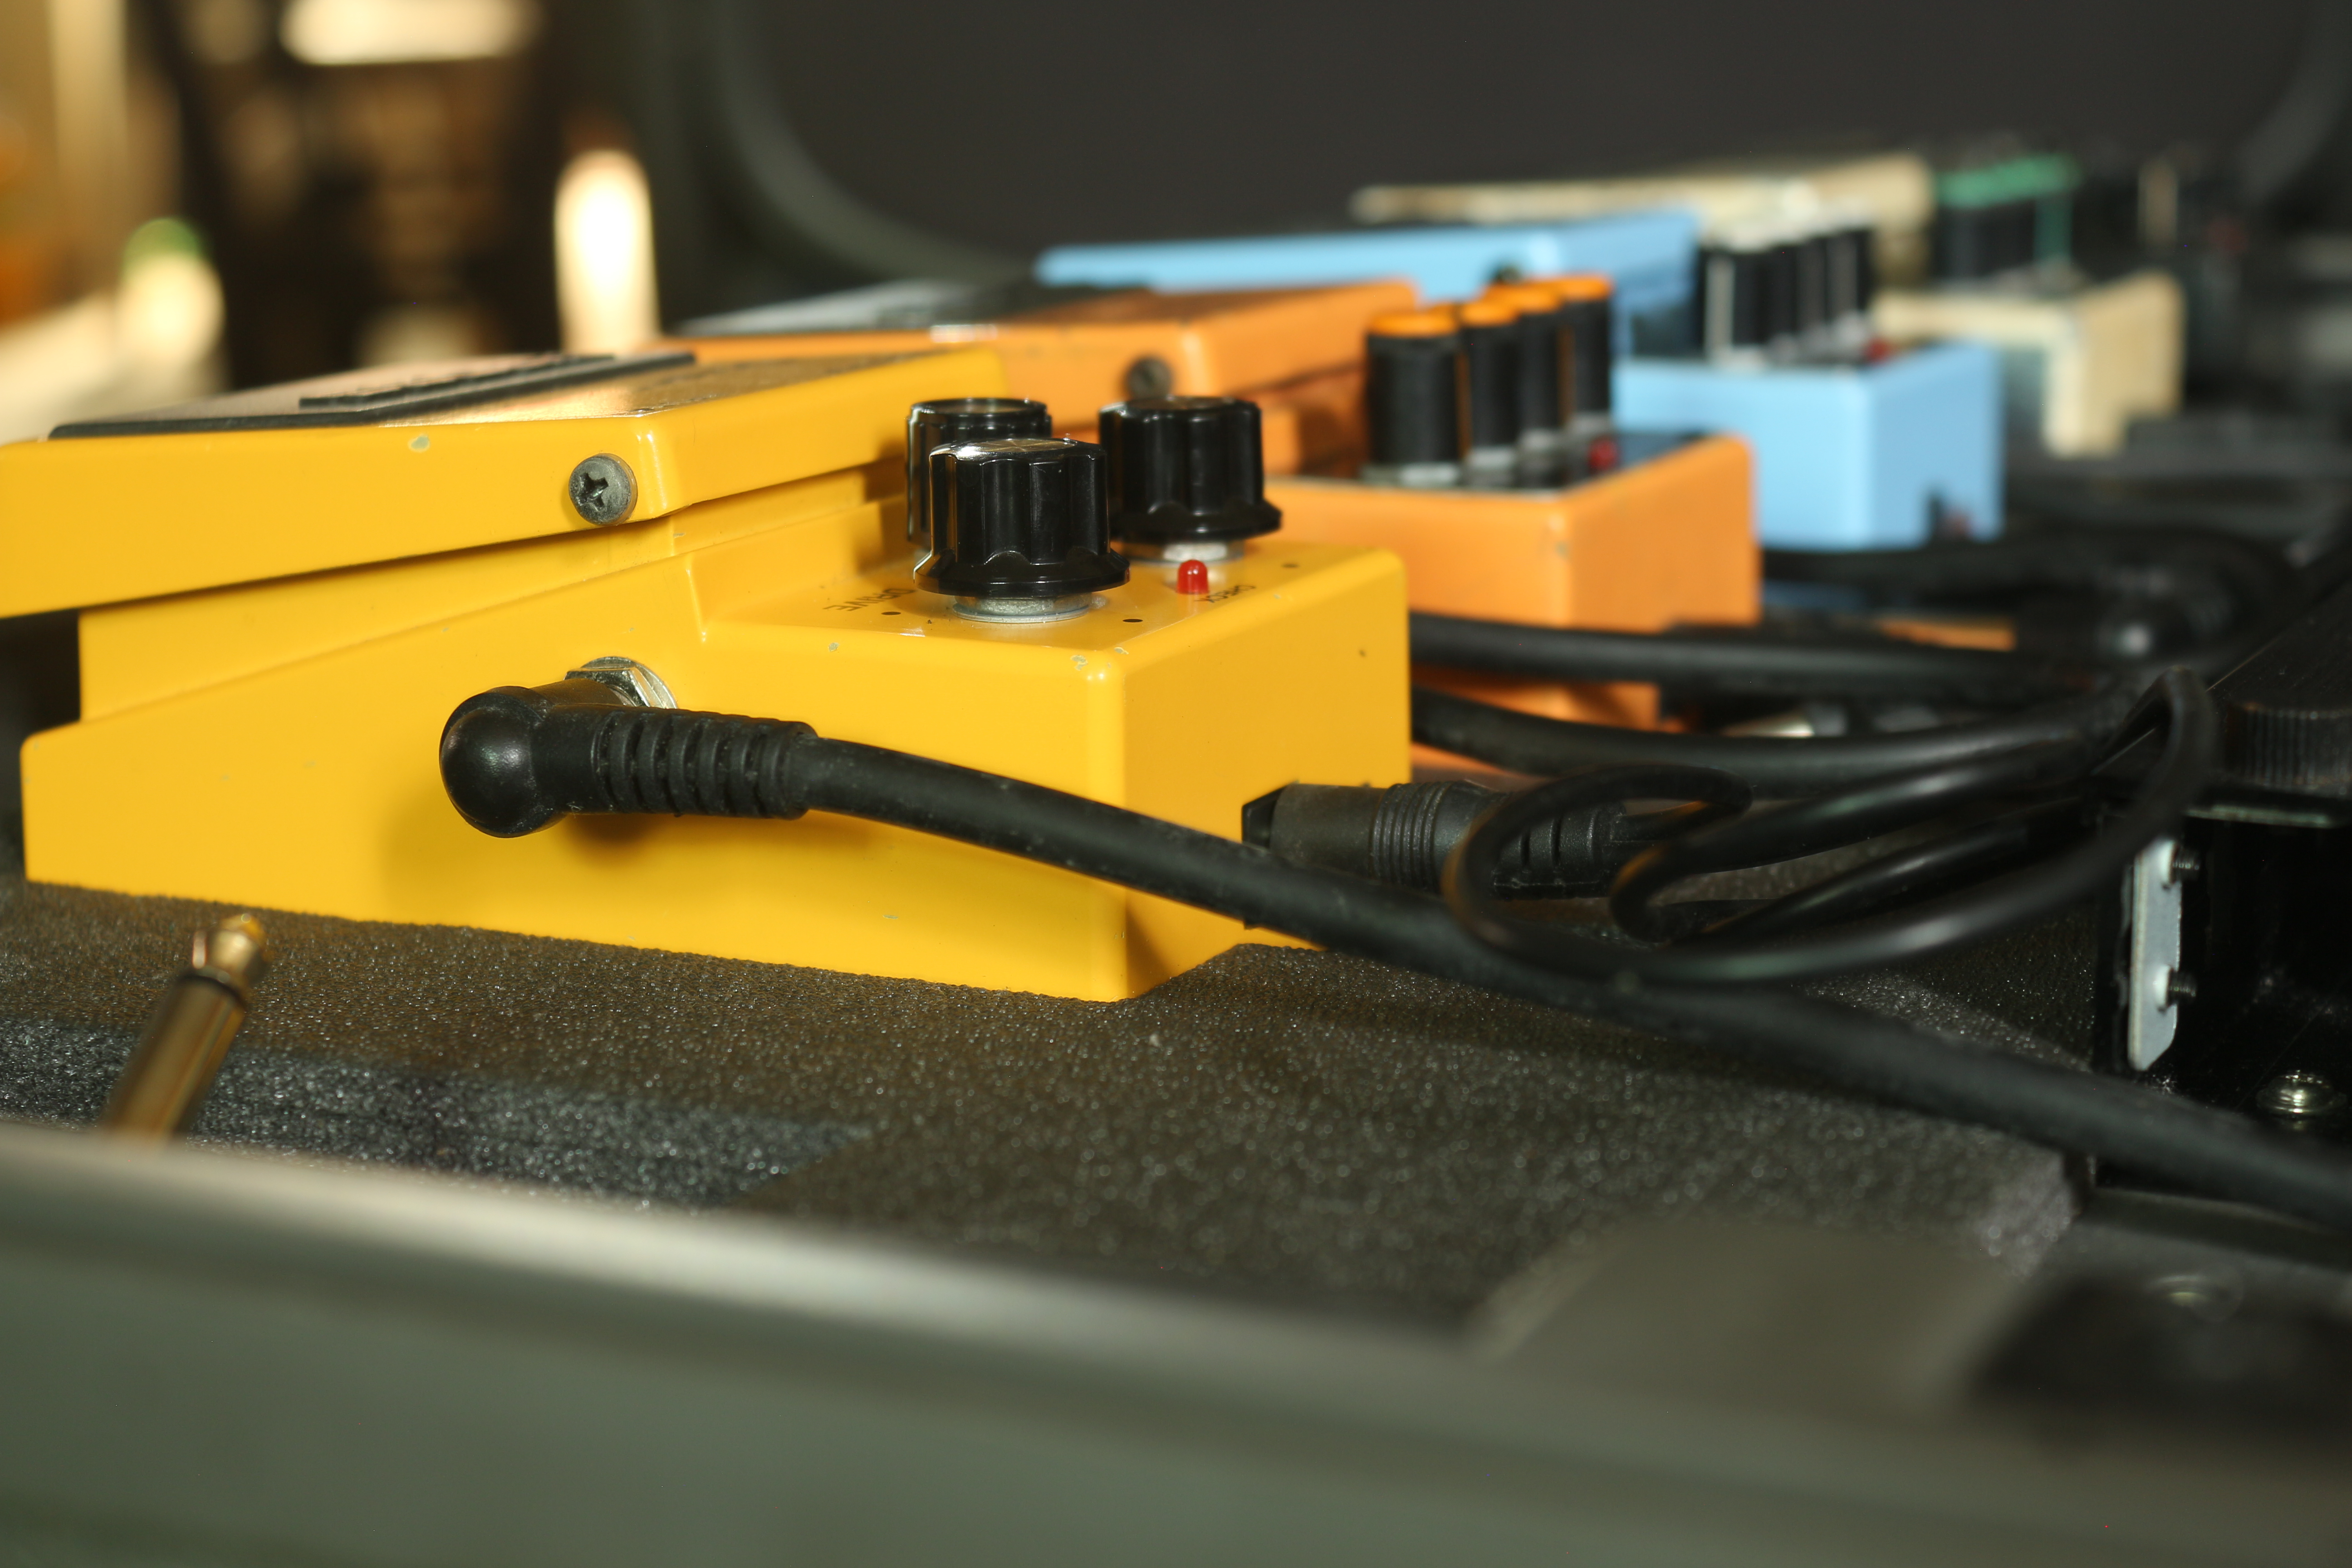
Keep grounding as simple as possible: route everything to one “centre”, meaning the power supply or power strip. This reduces the risk of ground loops that cause the typical hum. Choose short, reliable patch cables so they do not add unnecessary capacitance or another noise source. Do not run power and signal cables side by side for long distances; if they must cross or run together, keep the shared route as short as possible.
On a larger board, a better power supply is not always enough; simple order matters too. If cables pile up outside the board, tidy the area around the amp, supplies and transport accessories as well; a practical walkthrough is in the article How to tidy up cable chaos in music gear?. If you use many true-bypass pedals and long runs, add a buffer at the start or end of the chain. It helps preserve highs and improves the signal-to-noise ratio without changing the basic character of your sound.
Diagnostics: add pedals one by one
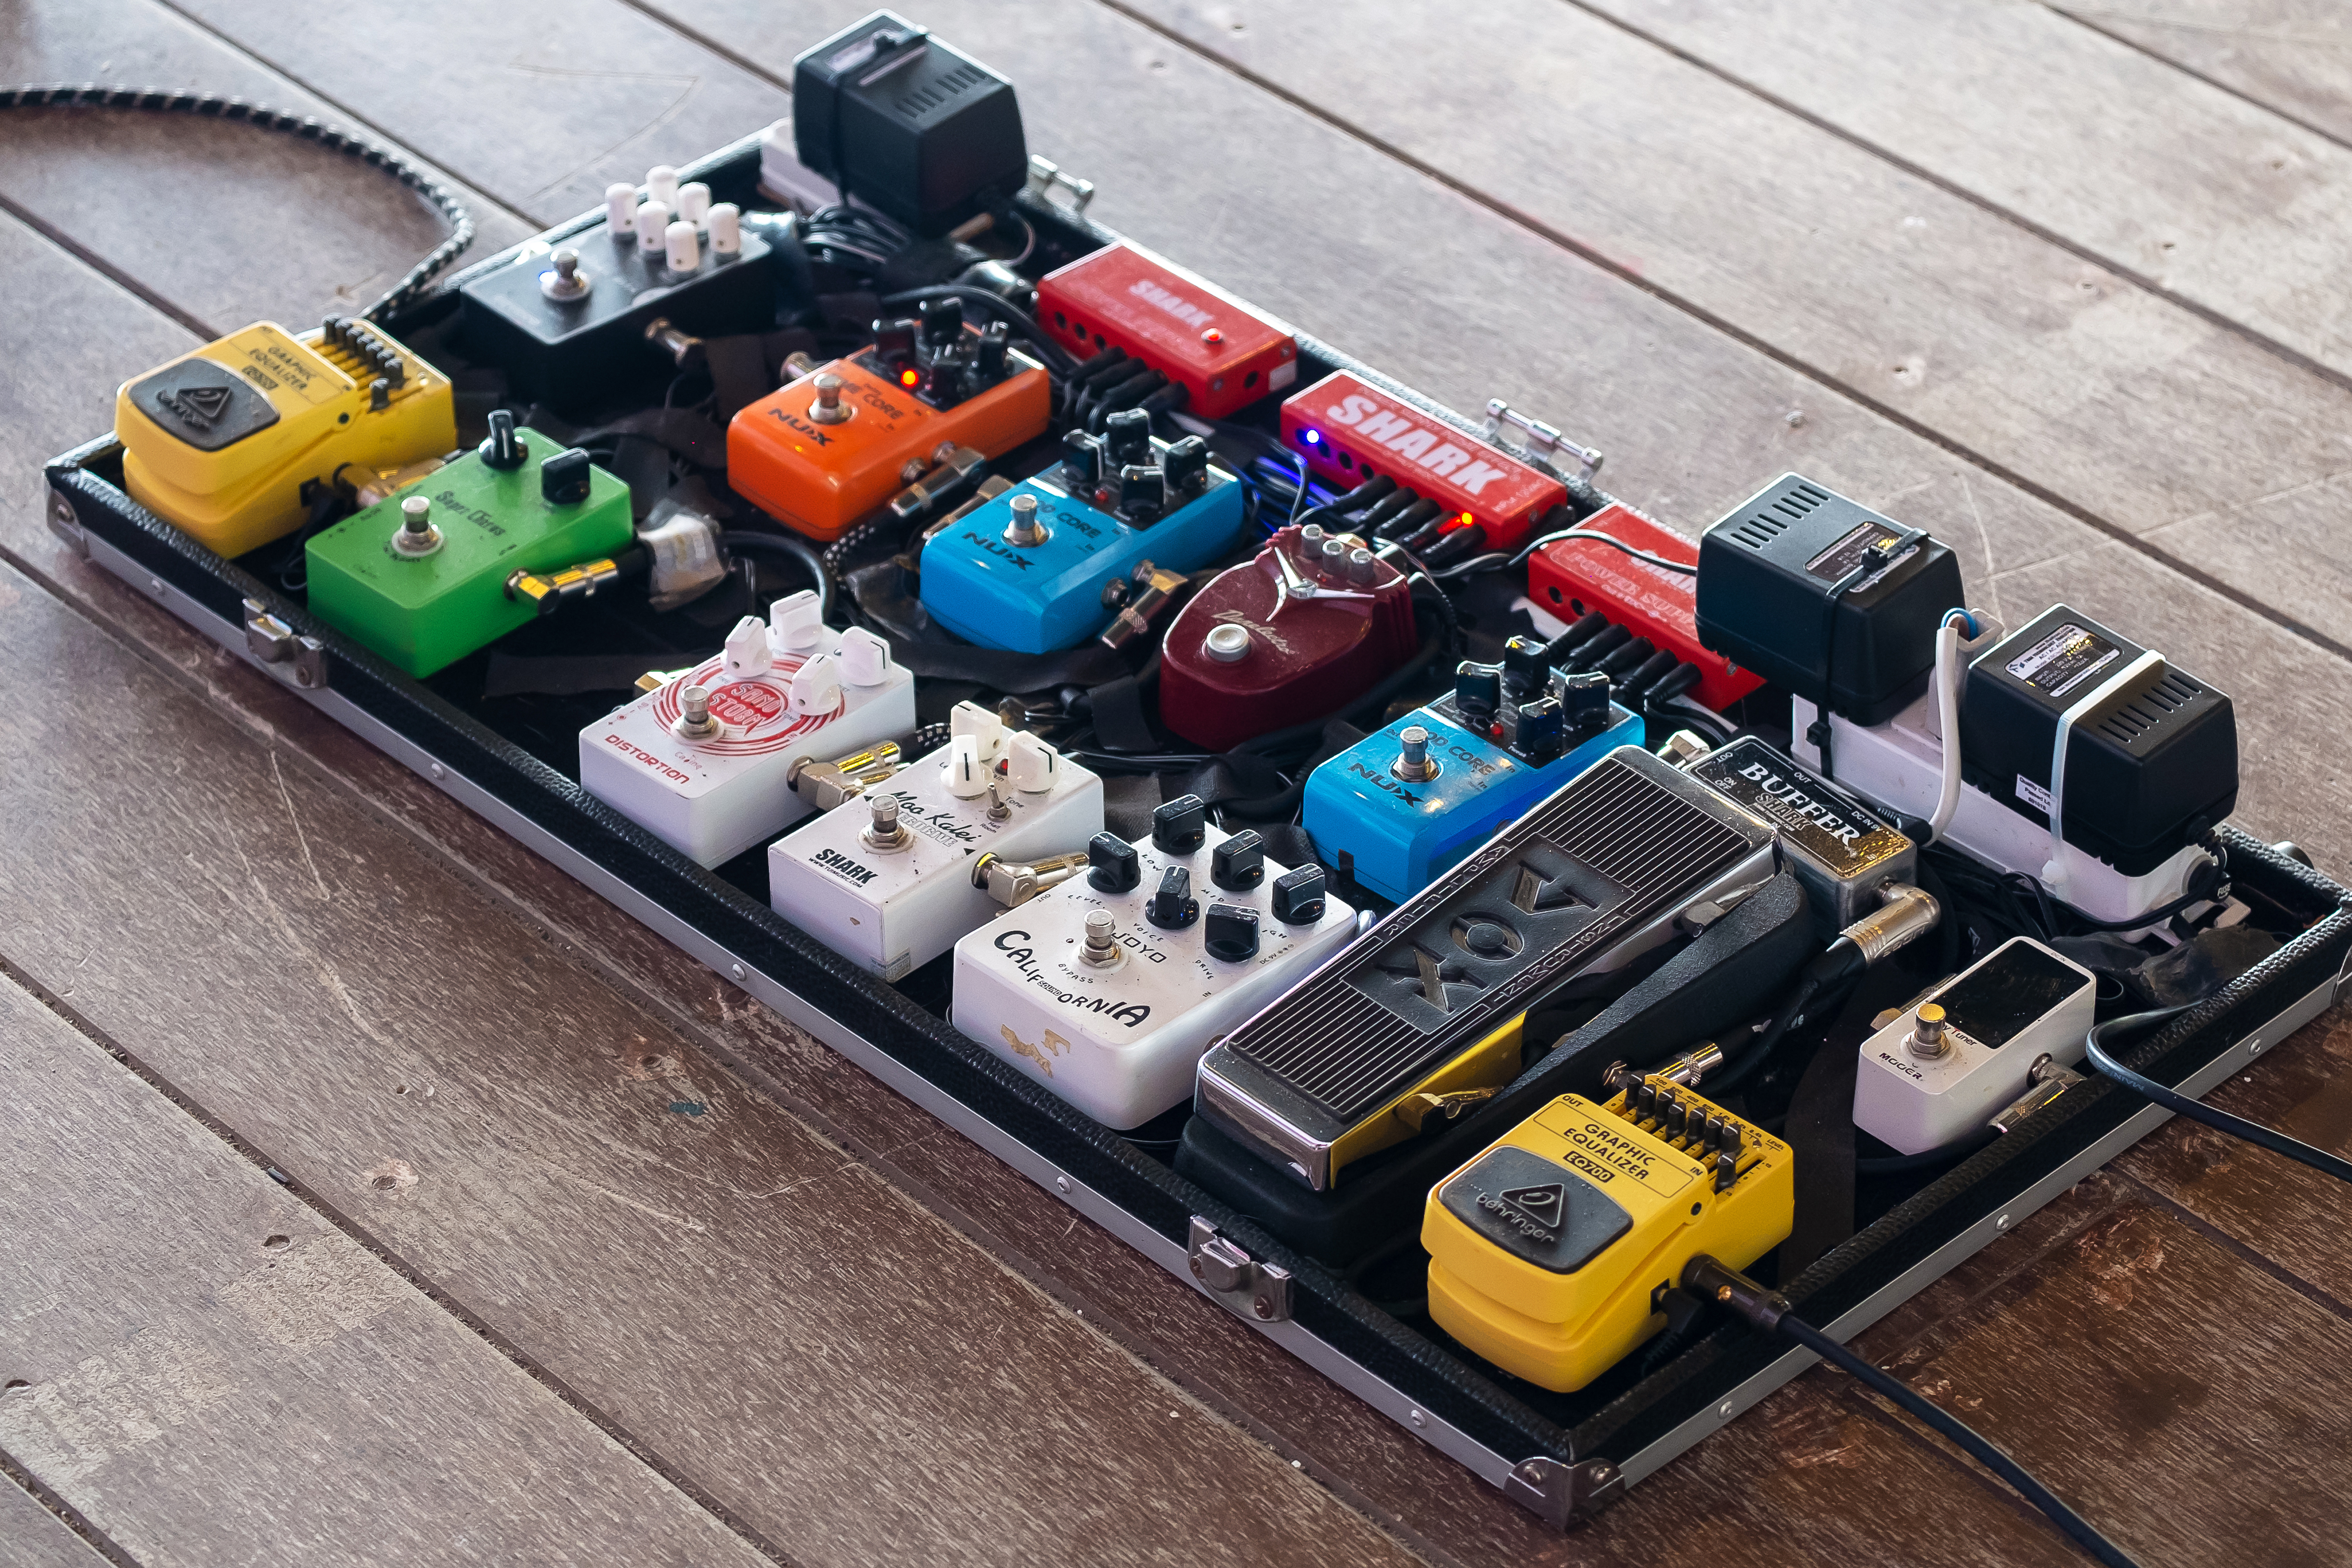
The fastest diagnostic method is also the most reliable. Start completely clean: guitar straight into the amp, with no pedals. If the signal is quiet, add the first pedal and listen. Then the second, third and so on, one by one. When noise appears, you know where in the chain something changed. Try powering that pedal from another isolated output, replace the patch cable between it and its neighbour and check whether a specific combination is the problem.
If you use an FX loop, disconnect it completely for a moment and compare the rig without the loop. Moving delay and reverb into the loop often helps, or temporarily removing them to check whether they trigger noise at higher gain. You can try a noise gate before distortion and in the loop: at the input it tames noise from the instrument, while in the loop it controls preamp noise.
What usually makes the biggest difference
If you want to start with the most effective steps, focus first on isolated power with headroom, then on sensible ordering of effects, and finally on short, reliable patch cables. Add a buffer for long runs. These changes do not alter your playing style or the character of the pedals, but they remove many of the problems that make a pedalboard noisy and confusing.
Bass players: compressor, preamp and a clean signal to the desk
With bass guitar, it often pays to place the compressor before most other effects so the dynamics behave predictably. At the end of the chain, a preamp or DI can send a strong, clean signal to the stage or mixing desk. Some bassists also use a high pass filter to remove unnecessary low-end rumble. The basis is the same as with guitar: isolated power, a short signal path and cables routed so they do not get in each other’s way.
Conclusion: a quiet pedalboard comes from order across the whole chain
A clean sound does not come from one magic pedal. It is the sum of good habits: logical pedal order, dedicated and correctly sized power, clean connections, sensible grounding and step-by-step diagnostics. If you arrange the pedals on your pedalboard into a clear chain, move time-based and modulation effects into the loop when needed and keep checking cables and power, hum stops being a random mystery. The result is a readable sound without unnecessary noise.
Photo source: Shutterstock