 Albania
 Argentina
 Australia
 Austria
 Belgium
 Bosnia and Herzegovina
 Brazil
 Bulgaria
 Canada
 Chile
Chile
 Colombia
 Croatia
 Czech Republic
 Denmark
 Estonia
 Finland
 France
 Germany
 Greece
 Hungary
 Ireland
 Italy
Italy
 Latvia
 Lithuania
 Luxembourg
 Mexico
 Moldova
 Montenegro
 Netherlands
 New Zealand
 North Macedonia
 Norway
 Philippines
 Poland
 Portugal
 Romania
 Serbia
 Slovakia
 Slovenia
 South Africa
 Spain
Spain
 Sweden
 Switzerland
 Turkey
 Ukraine
 United Kingdom
 United States of America



How to master virtual guitar effects in a DAW
The best pedalboard is a computer. We go through five steps, from setting the input on your interface and getting the effect order right to the parallel effect paths few people can afford in hardware.
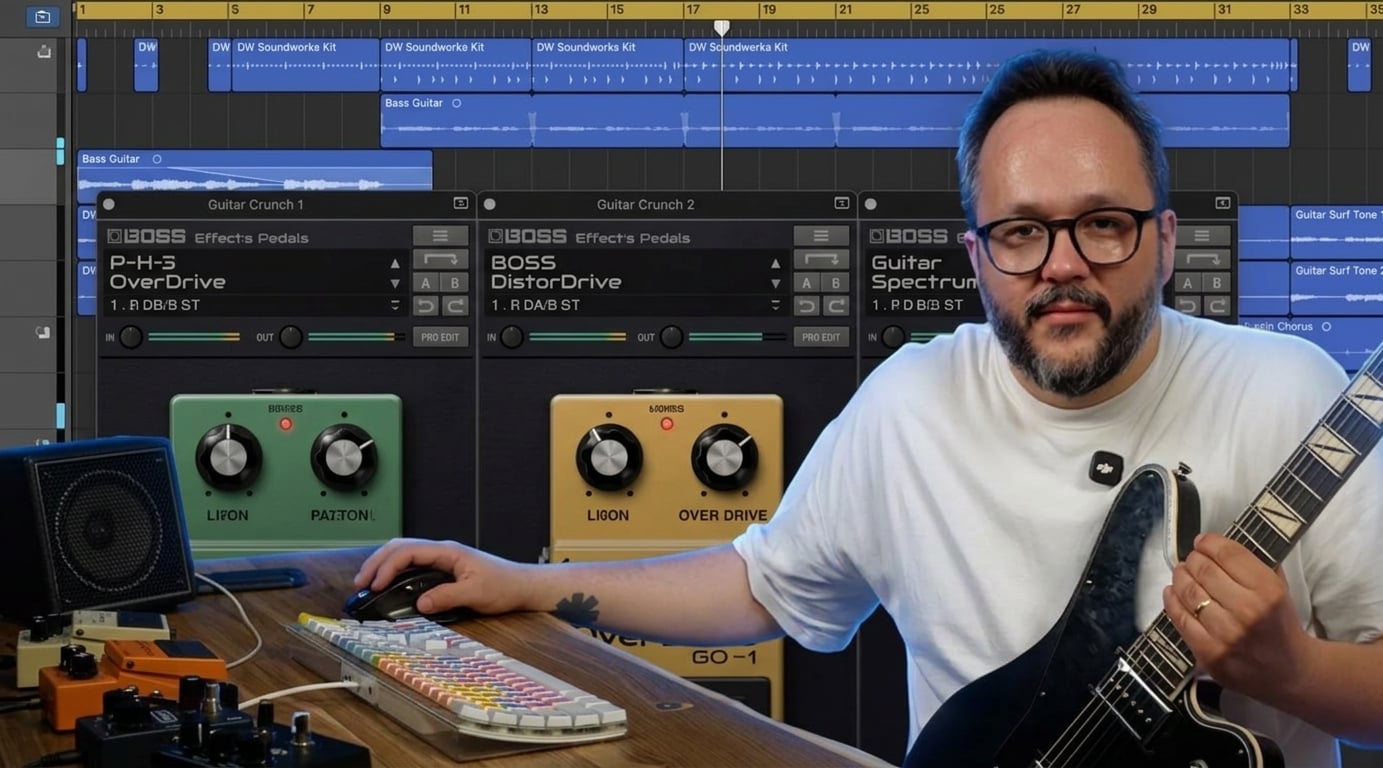
The open secret of music production is that the best pedalboard is a computer. Not because pedals stopped being good, but because the routings only a handful of people can afford in the physical world take you a few minutes and not a single cable in a DAW.
A guitar chain is simply the term for a series of effects, amplifiers and cabinets wired one after another to produce your final sound. In hardware it is the most expensive and least flexible route, because every piece costs money, space and setup time, and once it has to work live the price climbs even faster. In a computer you get the same thing for a fraction of it, and you can rearrange everything with two clicks.
We will go through it from A to Z in five steps. You will set your input, switch on a gate, put the effects in the right order, bring in plugins from other makers, and finally build parallel effect paths, which are the real advantage of working in the box. Each step comes with practical tips and the settings that keep it from stuttering. The full episode is on our YouTube channel, part one here and part two here.
A guitar chain is simply the term for a series of effects, amplifiers and cabinets wired one after another to produce your final sound. In hardware it is the most expensive and least flexible route, because every piece costs money, space and setup time, and once it has to work live the price climbs even faster. In a computer you get the same thing for a fraction of it, and you can rearrange everything with two clicks.
We will go through it from A to Z in five steps. You will set your input, switch on a gate, put the effects in the right order, bring in plugins from other makers, and finally build parallel effect paths, which are the real advantage of working in the box. Each step comes with practical tips and the settings that keep it from stuttering. The full episode is on our YouTube channel, part one here and part two here.
What a guitar chain is
If you have read our pedalboard guide, you already know the principle. The signal runs from the guitar through a tuner, a gate, the drives, into the head, through the cabinet, and at the end delay and reverb are added on top. That order is no accident, and in a computer exactly the same rules apply.
What changes is what you can afford. Fancy hearing your riff through four heads and three cabinets? In hardware that is seven purchases and two days of hauling gear, in a computer it is four clicks. Want a true stereo chain where the modulations spread across the field the way you hear them on records? In the physical world that takes a stereo amp with a stereo effects loop, and you can count the people who own one on the fingers of one hand. In a plugin it is on from the start.
And one more thing nobody says out loud. A huge share of the guitars on the albums you love were made exactly this way. On magazine covers everyone poses next to an amp, but the studio reality is often different and frequently comes down to a real head combined with a virtual chain.
What changes is what you can afford. Fancy hearing your riff through four heads and three cabinets? In hardware that is seven purchases and two days of hauling gear, in a computer it is four clicks. Want a true stereo chain where the modulations spread across the field the way you hear them on records? In the physical world that takes a stereo amp with a stereo effects loop, and you can count the people who own one on the fingers of one hand. In a plugin it is on from the start.
And one more thing nobody says out loud. A huge share of the guitars on the albums you love were made exactly this way. On magazine covers everyone poses next to an amp, but the studio reality is often different and frequently comes down to a real head combined with a virtual chain.
What to get ready
The list is short. An electric guitar, an audio interface with an instrument input, headphones or monitors, some DAW and at least one amp simulator. You need nothing else to start, no amp, no microphone, no treated room.
With the interface two things really matter: the quality of the instrument input and low driver latency. If you are still choosing one, read how to choose an audio interface, and if you are torn over software, our FL Studio versus Ableton comparison will help.
Among plugins, Neural DSP is the best known, but AmpliTube from IK Multimedia, Guitar Rig from Native Instruments and TONEX do the same job, and there are free open source models too. The episode uses Archetype Gojira, a chain built around Joe Duplantier, but everything we show works exactly the same in any other plugin.
With the interface two things really matter: the quality of the instrument input and low driver latency. If you are still choosing one, read how to choose an audio interface, and if you are torn over software, our FL Studio versus Ableton comparison will help.
Among plugins, Neural DSP is the best known, but AmpliTube from IK Multimedia, Guitar Rig from Native Instruments and TONEX do the same job, and there are free open source models too. The episode uses Archetype Gojira, a chain built around Joe Duplantier, but everything we show works exactly the same in any other plugin.
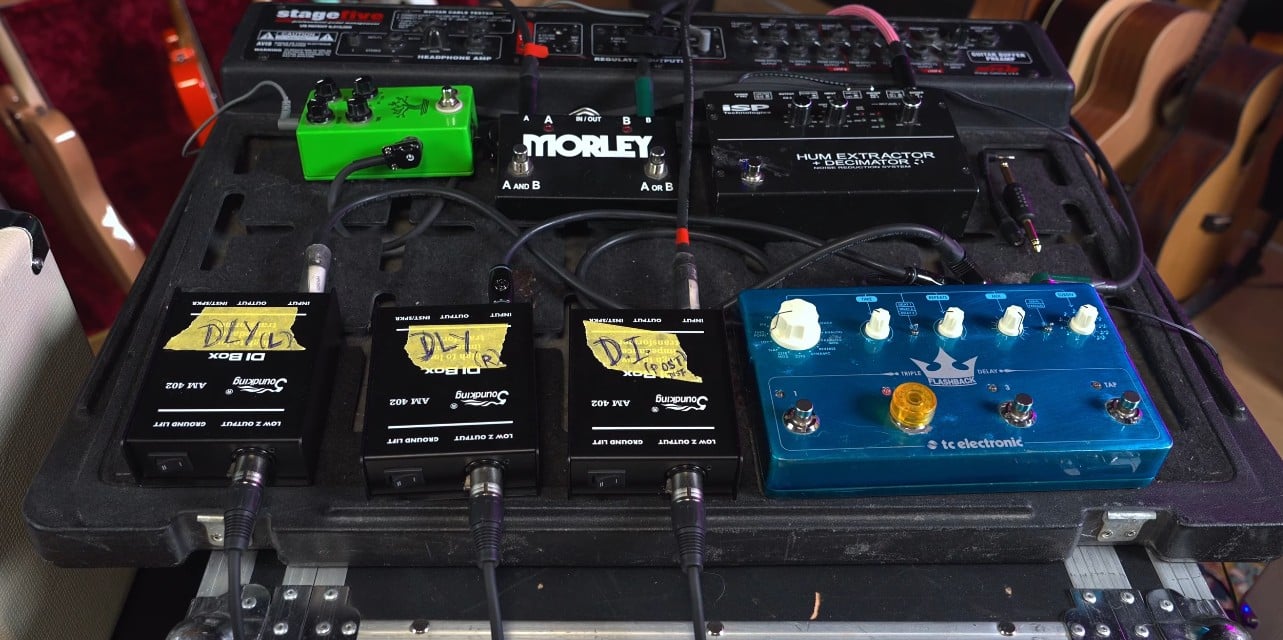
Step 1: Set the input on your interface
This is the step most people skip and then wonder why everything crackles. Input gain is not set in the plugin but on the audio interface. Take the guitar, turn the volume knob to maximum and hit the open strings properly, meaning as hard as you will actually play, not gently.
Then pull the gain on the interface down until the peaks stay out of the red even on the hardest hit. Leave the input inside the plugin at zero, it is there for automation, not for rescuing a badly set signal.
Why like this? Because once you clip the signal at the input, no plugin will repair it, and clipping distortion sounds nothing like distortion from an amp.
Then pull the gain on the interface down until the peaks stay out of the red even on the hardest hit. Leave the input inside the plugin at zero, it is there for automation, not for rescuing a badly set signal.
Why like this? Because once you clip the signal at the input, no plugin will repair it, and clipping distortion sounds nothing like distortion from an amp.
Step 2: Put the gate first
The first thing in the chain is a noise gate, and it is the one position with no exceptions. In a block of flats your line carries hiss, buzz and all that electrical mumbling, which at high gain you will hear more than your own guitar.
Switch the gate on and set the threshold so it closes the signal when you are not playing without choking your sustained notes. Even with the threshold set very low the gate will reliably strip out electrical hum, so you do not have to clamp it shut straight away.
When you are done, stop playing and listen. If it is silent, move on. If not, raise the threshold in small increments until you get silence, but stop the moment it starts clipping the ends of your phrases.
Switch the gate on and set the threshold so it closes the signal when you are not playing without choking your sustained notes. Even with the threshold set very low the gate will reliably strip out electrical hum, so you do not have to clamp it shut straight away.
When you are done, stop playing and listen. If it is silent, move on. If not, raise the threshold in small increments until you get silence, but stop the moment it starts clipping the ends of your phrases.
Step 3: Order the effects
Straight after the gate come pitch shifters and octavers and the wah. The reason is purely practical: these effects track the pitch of the note, and the cleaner the signal they get, the more accurately they read it. Put them after the distortion and they start losing the plot, which you hear instantly on chords.
Next comes the section of overdrives and distortions, meaning everything that sits in front of the head. Even with the amp on medium gain, metal players still push it with a Tube Screamer or a similar boost, because it adds not so much distortion as midrange push and a tighter low end.
Then comes the amp itself, where you set gain, EQ, master and presence, and after it the cabinet, which in reality is a set of impulse responses. Here you choose the cab and the mic configuration with it, which is practically unreachable with a physical pedalboard unless you load your own impulses.
After the cab there is usually a master EQ with parametric bands plus a high pass and a low pass. An ordinary guitarist never had that much control over their whole tone, and it is one of the places where the virtual world clearly wins.
And right at the end sit the modulations, delay and reverb. Not because somebody decreed it, but because in hardware they live in the effects loop behind the preamp so the head gain and EQ do not colour them. If you are unsure which effect belongs where, read how to choose a guitar effect as well.
Next comes the section of overdrives and distortions, meaning everything that sits in front of the head. Even with the amp on medium gain, metal players still push it with a Tube Screamer or a similar boost, because it adds not so much distortion as midrange push and a tighter low end.
Then comes the amp itself, where you set gain, EQ, master and presence, and after it the cabinet, which in reality is a set of impulse responses. Here you choose the cab and the mic configuration with it, which is practically unreachable with a physical pedalboard unless you load your own impulses.
After the cab there is usually a master EQ with parametric bands plus a high pass and a low pass. An ordinary guitarist never had that much control over their whole tone, and it is one of the places where the virtual world clearly wins.
And right at the end sit the modulations, delay and reverb. Not because somebody decreed it, but because in hardware they live in the effects loop behind the preamp so the head gain and EQ do not colour them. If you are unsure which effect belongs where, read how to choose a guitar effect as well.
Step 4: Bring in plugins from other makers
This is where the fun starts and where the real difference from hardware lies. Inside one plugin you are stuck with the delays, reverbs and drives the maker gave you. But maybe you want a completely different overdrive, another fuzz, or one particular emulation you like better.
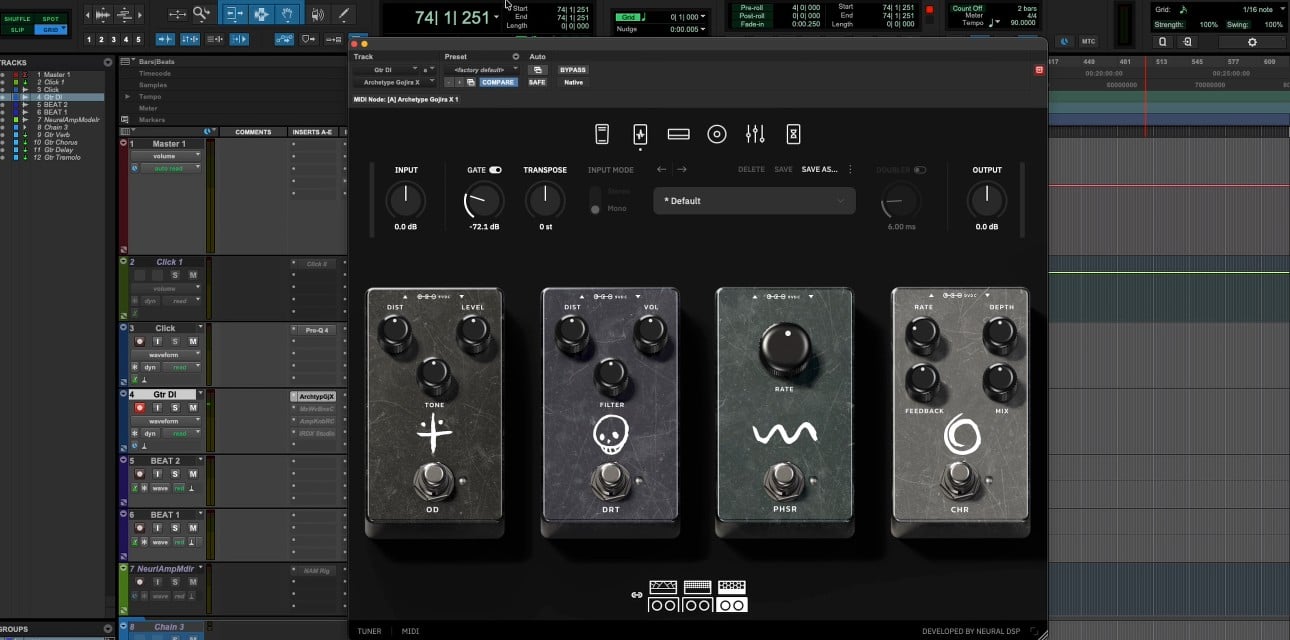
The procedure is simple. First duplicate the track so you do not lose your original setting. On the copy leave only the head and the cabinet active in the amp simulator and switch everything else off, meaning the gate, the drives and the effects. Then put the drive you want in front of that plugin.
And here is the trick without which this does not work for most people. The gate is still inside the amp plugin, which puts it after the distortion, where it is useless. The fix is to load the same plugin again in the first slot, turn absolutely everything off in it except the gate and use it purely as a gate. The resulting order looks like this: plugin with gate only, your favourite drive, plugin with head and cab only.
The range of drive and fuzz plugins is effectively endless and most of them cost a fraction of the same box in hardware. In one evening you can try ten combinations and learn how particular amps and boosts react together, which is knowledge that will help you later when buying real pedals.
The procedure is simple. First duplicate the track so you do not lose your original setting. On the copy leave only the head and the cabinet active in the amp simulator and switch everything else off, meaning the gate, the drives and the effects. Then put the drive you want in front of that plugin.
And here is the trick without which this does not work for most people. The gate is still inside the amp plugin, which puts it after the distortion, where it is useless. The fix is to load the same plugin again in the first slot, turn absolutely everything off in it except the gate and use it purely as a gate. The resulting order looks like this: plugin with gate only, your favourite drive, plugin with head and cab only.
The range of drive and fuzz plugins is effectively endless and most of them cost a fraction of the same box in hardware. In one evening you can try ten combinations and learn how particular amps and boosts react together, which is knowledge that will help you later when buying real pedals.
Step 5: Build parallel effect paths
This takes a minute in a computer, whereas in hardware it would cost you a small fortune. The point is that your main distorted sound stays untouched while the effects run alongside it on separate tracks, where you set their level and character completely independently.
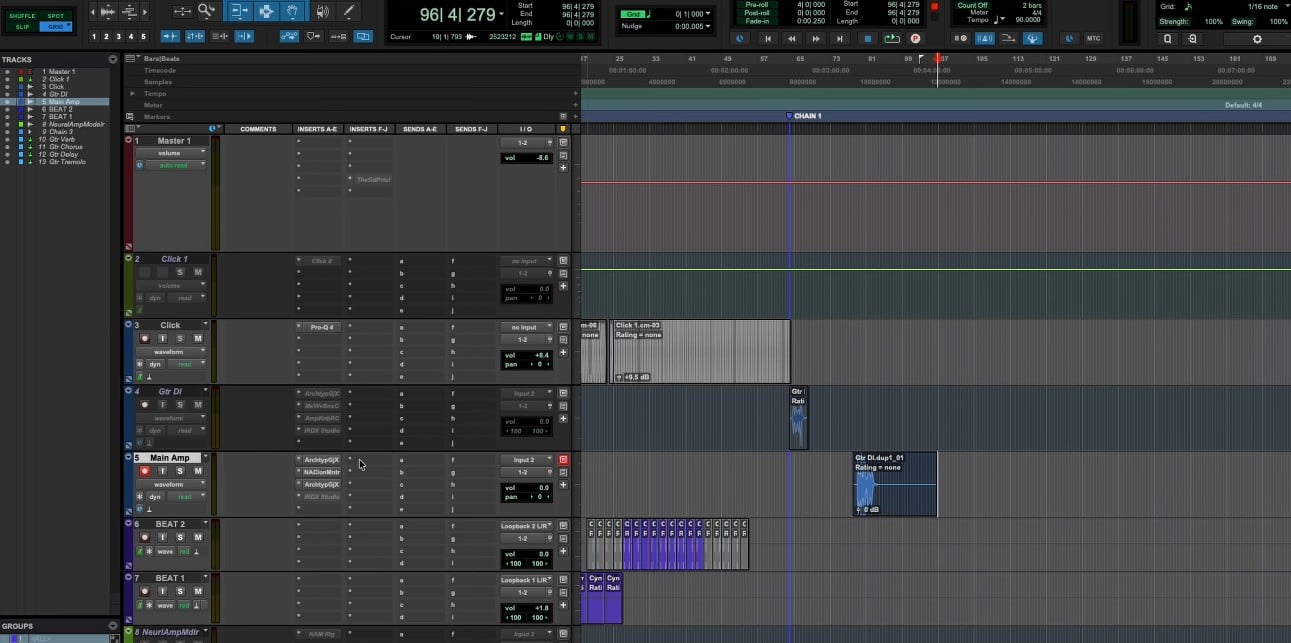
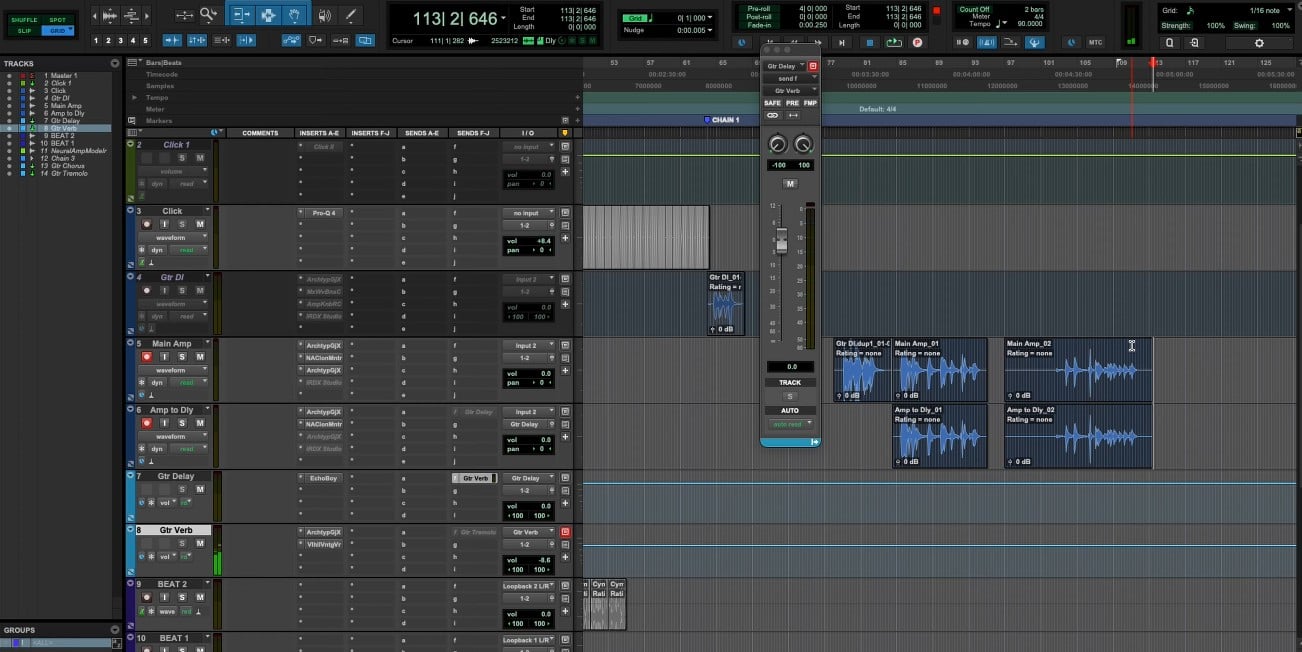
Step by step. Duplicate the main track and arm it for recording so it takes the same signal from the guitar. On the copy switch off the amp and the cabinet and leave only the gate on, so no noise reaches the effect. From that track send the signal to a new track carrying the delay.
Two things make it work. On every parallel effect track set mix to one hundred percent, because the dry signal is already in your main track and you do not want it twice. And control the effect level with that track fader, not with the mix parameter inside the plugin.
Play now and you hear your distorted amp with a delay beside it fed by the clean line, so the repeats stay clear and do not clog the mix. If that feels too sterile, send the delay the same distorted signal that feeds the amp and the repeats will be distorted too. Both ways are correct, they simply sound different.
And from here it just multiplies. Send the delay output onward into a reverb, pitch that reverb an octave up and you have the spacey sound you know from records. This is exactly what plugins like SoundToys EchoBoy are for, with filters and settings a built-in delay will never allow. You can build as many parallel paths with delays, tremolos, reverbs and modulations as you like, the only limit is your computer.
Step by step. Duplicate the main track and arm it for recording so it takes the same signal from the guitar. On the copy switch off the amp and the cabinet and leave only the gate on, so no noise reaches the effect. From that track send the signal to a new track carrying the delay.
Two things make it work. On every parallel effect track set mix to one hundred percent, because the dry signal is already in your main track and you do not want it twice. And control the effect level with that track fader, not with the mix parameter inside the plugin.
Play now and you hear your distorted amp with a delay beside it fed by the clean line, so the repeats stay clear and do not clog the mix. If that feels too sterile, send the delay the same distorted signal that feeds the amp and the repeats will be distorted too. Both ways are correct, they simply sound different.
And from here it just multiplies. Send the delay output onward into a reverb, pitch that reverb an octave up and you have the spacey sound you know from records. This is exactly what plugins like SoundToys EchoBoy are for, with filters and settings a built-in delay will never allow. You can build as many parallel paths with delays, tremolos, reverbs and modulations as you like, the only limit is your computer.
Tips that will save you time
Duplicate before you start experimenting. A copy of a track costs you nothing and saves an hour of clicking when you want to get back to a sound that worked.
Latency is not equally a problem everywhere. Time-based effects like delay and reverb tolerate it, because a few extra milliseconds on an already delayed signal are simply inaudible. What matters is that your main sound, the one you actually play on, has no latency.
When it starts stuttering, raise the buffer size at mix time, not while recording. While playing you need a small buffer and low latency, while mixing you can go high.
Freeze or render the tracks you have finished. Parallel paths are expensive on CPU and ten open reverbs will floor your processor.
Always record a DI track. With a clean guitar signal saved, you can rebuild the whole chain a month later without replaying a note. The same approach pays off when recording downtuned guitars.
Build yourself a template. Once you have a chain that works, save it with the parallel tracks as a project and next time you start by playing.
Latency is not equally a problem everywhere. Time-based effects like delay and reverb tolerate it, because a few extra milliseconds on an already delayed signal are simply inaudible. What matters is that your main sound, the one you actually play on, has no latency.
When it starts stuttering, raise the buffer size at mix time, not while recording. While playing you need a small buffer and low latency, while mixing you can go high.
Freeze or render the tracks you have finished. Parallel paths are expensive on CPU and ten open reverbs will floor your processor.
Always record a DI track. With a clean guitar signal saved, you can rebuild the whole chain a month later without replaying a note. The same approach pays off when recording downtuned guitars.
Build yourself a template. Once you have a chain that works, save it with the parallel tracks as a project and next time you start by playing.
How to take it to the stage
The question that always comes up: can you take this to a gig? You can, and that is exactly what is happening now. Multi-effects and modelers like the Neural DSP Quad Cortex, Nano Cortex or TONEX are essentially powerful computers into which you assemble exactly the same routings you built in your DAW.
If you are starting out, there is an order that will not ruin your budget. First dial the chain in on a computer, where experimenting costs you nothing, and only once you know what you actually use, move it into a floor multi-effect. You will discover along the way that half the things you thought you needed you never touch.
If you are starting out, there is an order that will not ruin your budget. First dial the chain in on a computer, where experimenting costs you nothing, and only once you know what you actually use, move it into a floor multi-effect. You will discover along the way that half the things you thought you needed you never touch.
The short version
Set the input on the interface, not in the plugin, and play flat out while you do it. Put the gate first. After it pitch and wah, then the drives, the amp, the cabinet and the master EQ, and leave modulations with delay and reverb for the end. If one link in the chain does not suit you, swap it for a plugin from another maker and load the gate separately in the first slot. And when you want a sound you cannot buy, build parallel effect paths with mix at one hundred percent.
That is all of it. It is not complicated, it just has an order worth keeping. The whole process with demonstrations is in the videos on our YouTube channel, part one and part two, and when you want to build the same chain out of real boxes, the guide is in Pedalboard from A to Z.
That is all of it. It is not complicated, it just has an order worth keeping. The whole process with demonstrations is in the videos on our YouTube channel, part one and part two, and when you want to build the same chain out of real boxes, the guide is in Pedalboard from A to Z.
Frequently asked questions
Do I need an expensive computer for this to work?
No. An ordinary laptop from the last few years will run an amp simulator and several plugins without trouble. Problems only start with dozens of parallel tracks carrying reverbs, and even that is solved by freezing tracks or raising the buffer at mix time.
Does a plugin really sound like a real amp?
In a mix, yes, and most people cannot tell the difference, which hundreds of albums recorded exactly this way prove. In a room at high volume the feeling is different, because you miss the speaker pushing air at your chest, but that is about playing, not about the recording.
Why does it crackle when everything is set correctly?
Almost always it is a clipped input on the audio interface. Pull the gain down, hit the open strings hard and check that the peaks stay out of the red. The second most common cause is a gate placed after the distortion.
How far should I close the gate?
Only as far as it takes to be silent when you are not playing. If the ends of phrases or sustained notes start disappearing, you set the threshold too high. Higher gain needs more gating, and for clean sounds you can often switch the gate off entirely.
Do I have to pay for plugins?
No. There are good free amp simulators and open source models that will do to start with. Paid bundles like AmpliTube or Guitar Rig only become worthwhile once you want specific amps and more options inside one environment.
Does this work for bass guitar too?
It does, the principle is identical, only the order tends to be simpler. Gate, compressor, drive, amp and cabinet, and on bass the clean signal is often blended in parallel with the distorted one so you keep the low end. In a DAW you do it with exactly the same workflow as on guitar.